Showing posts with label 2012 OMS cb750-1. Show all posts

5.29.2012

cb750-1 build/entry: part 5

After two 700 mile trips it was time for a reality check:

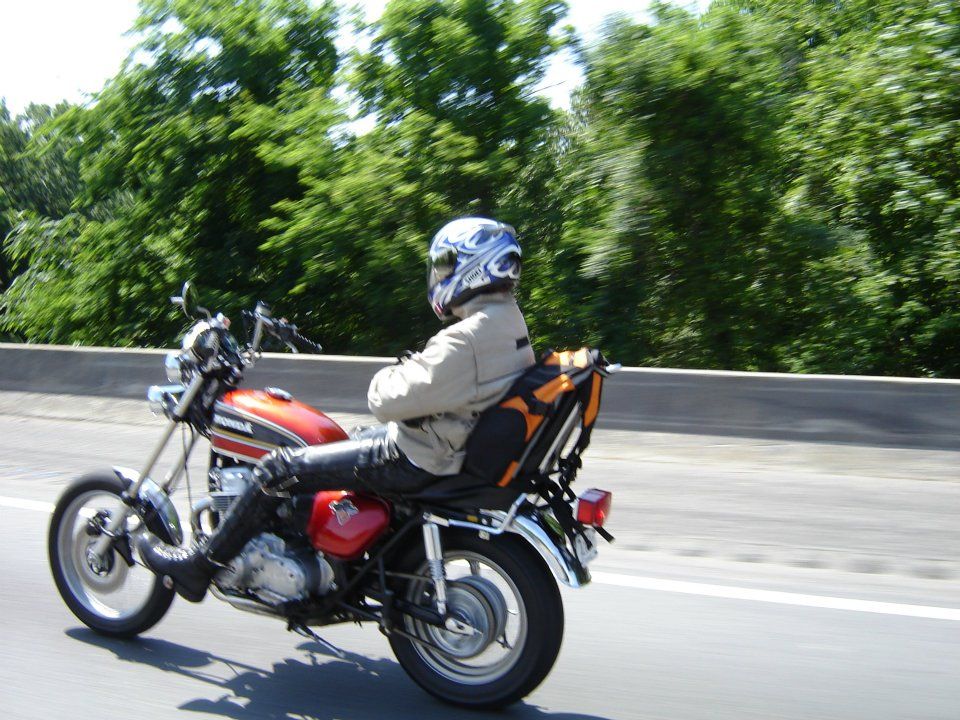
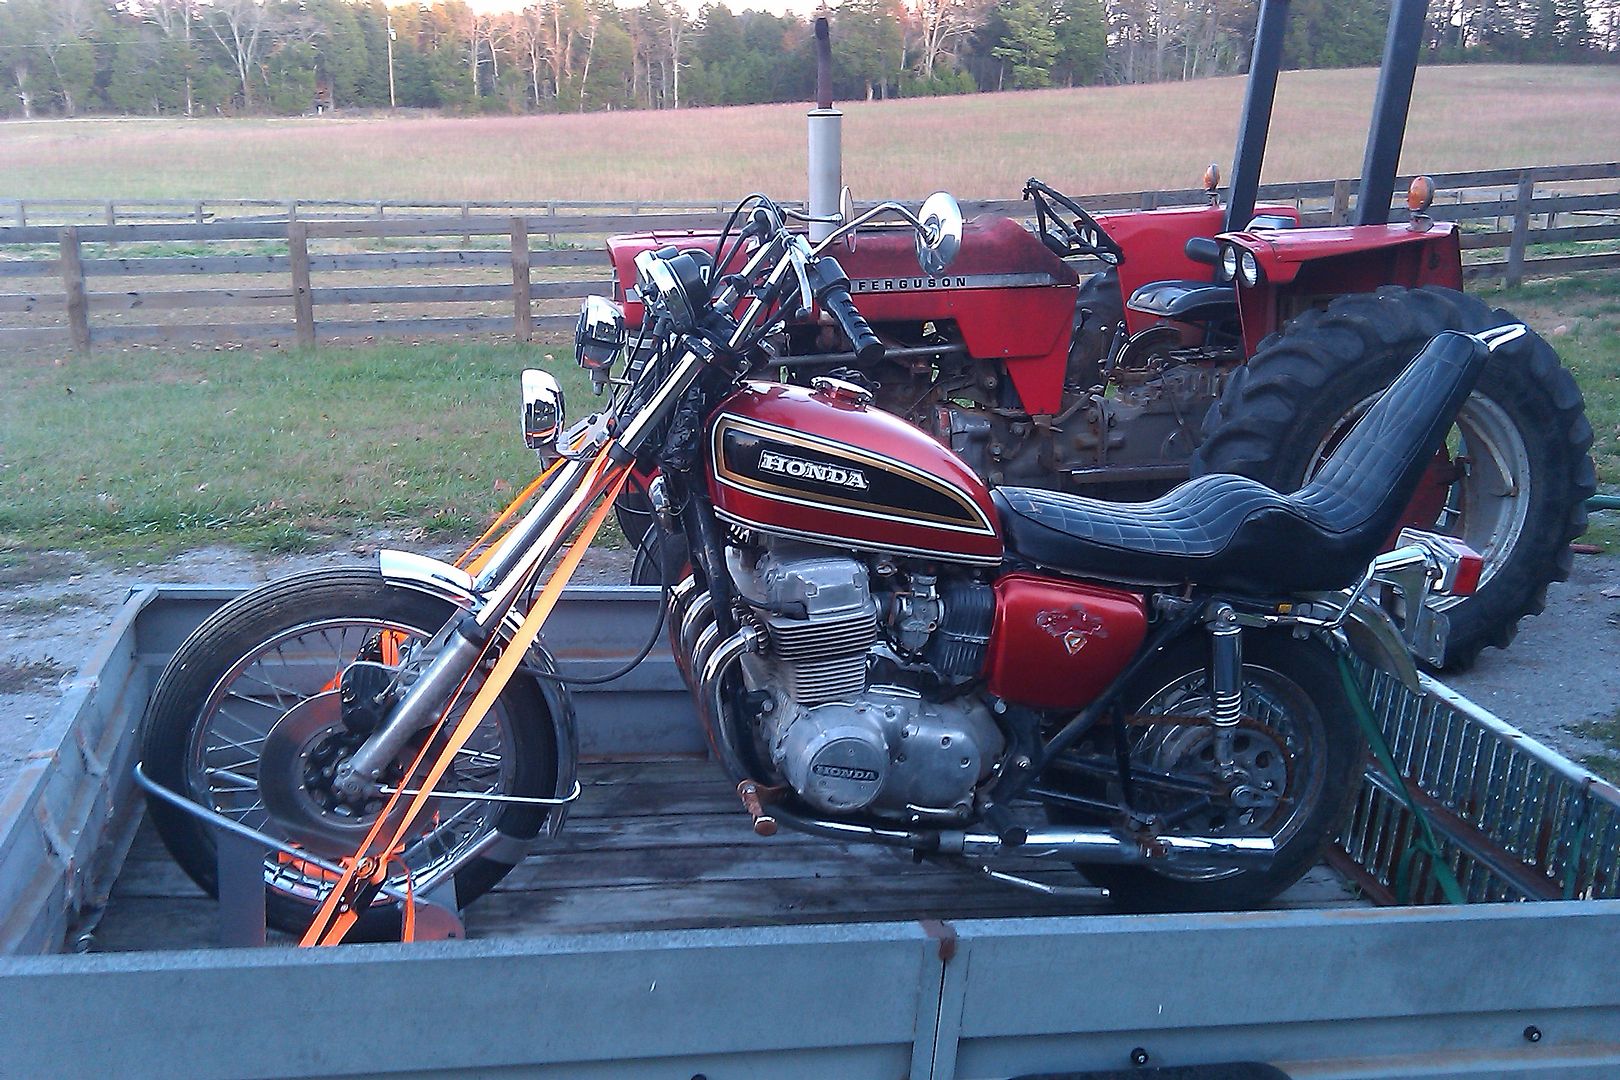
The king and queen seat looks awesome, and the sissy bar is really great to bungee your stuff to, but the seat is totally uncomfortable. My back went on strike, and so I started looking for a new, old seat without breaking the bank.

The 6 inch over forks match the seat perfectly, but twist like soft pasta when I just look at the brake lever, and god only knows how much bending they will still take after 36 years, before fatigue sets in terminally. They had to go!!!


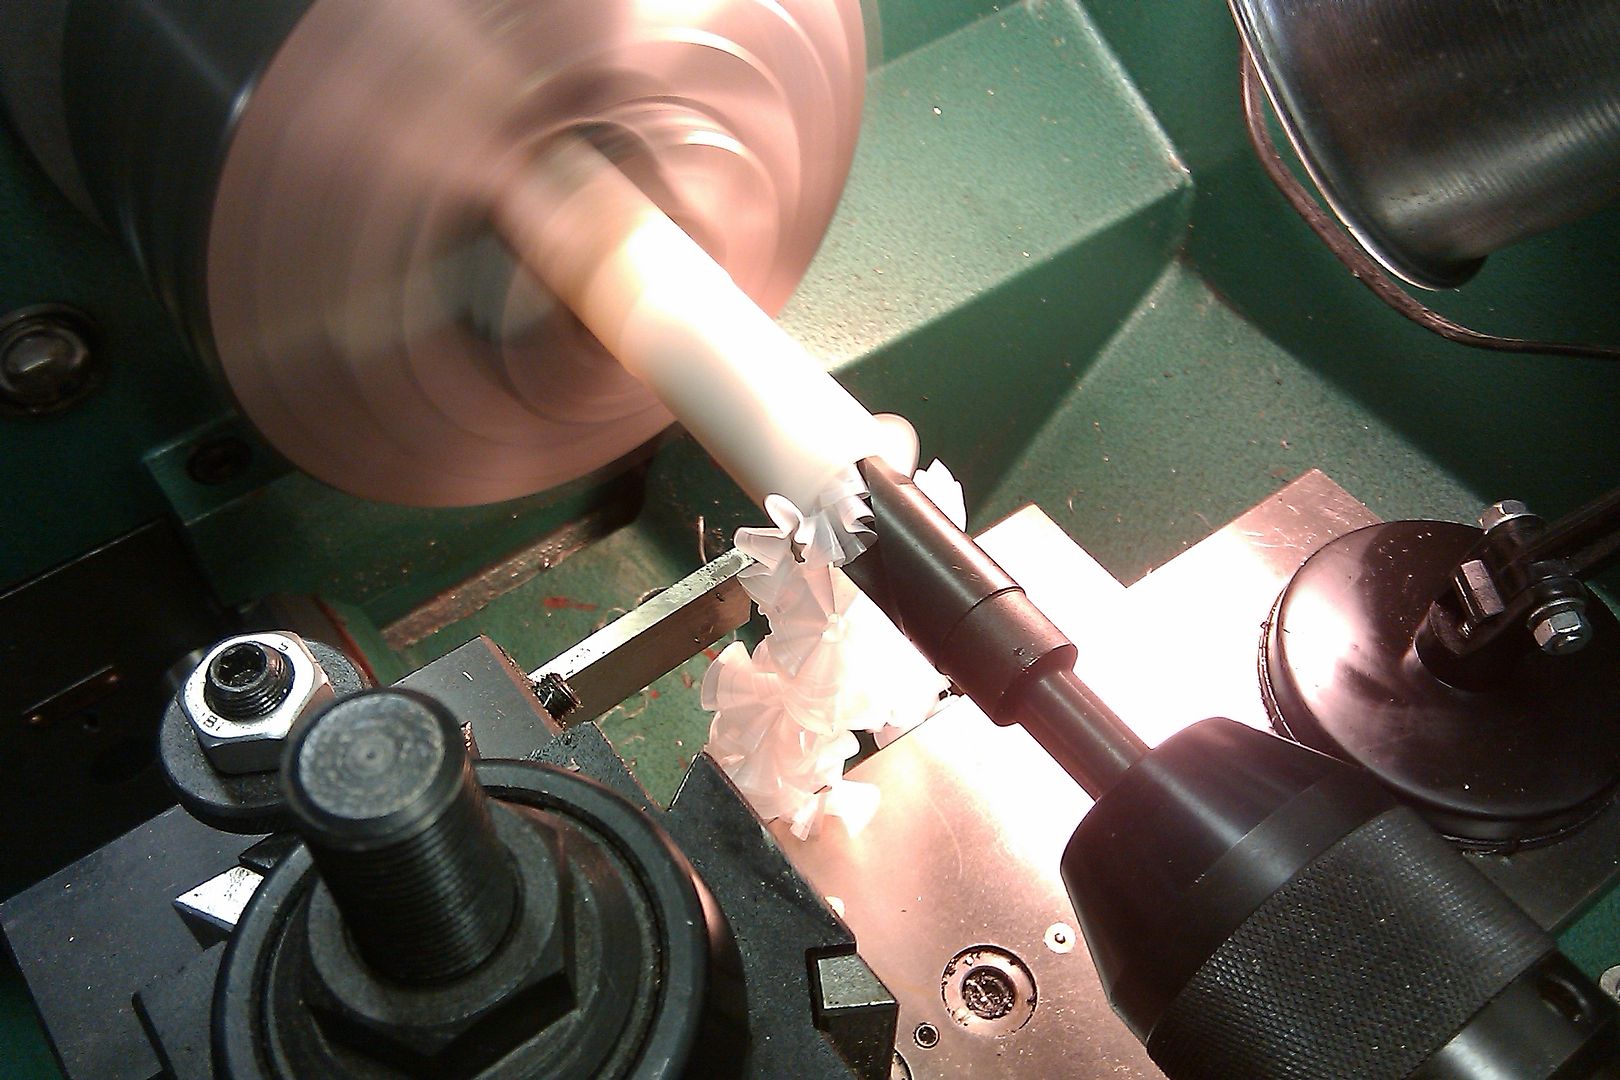
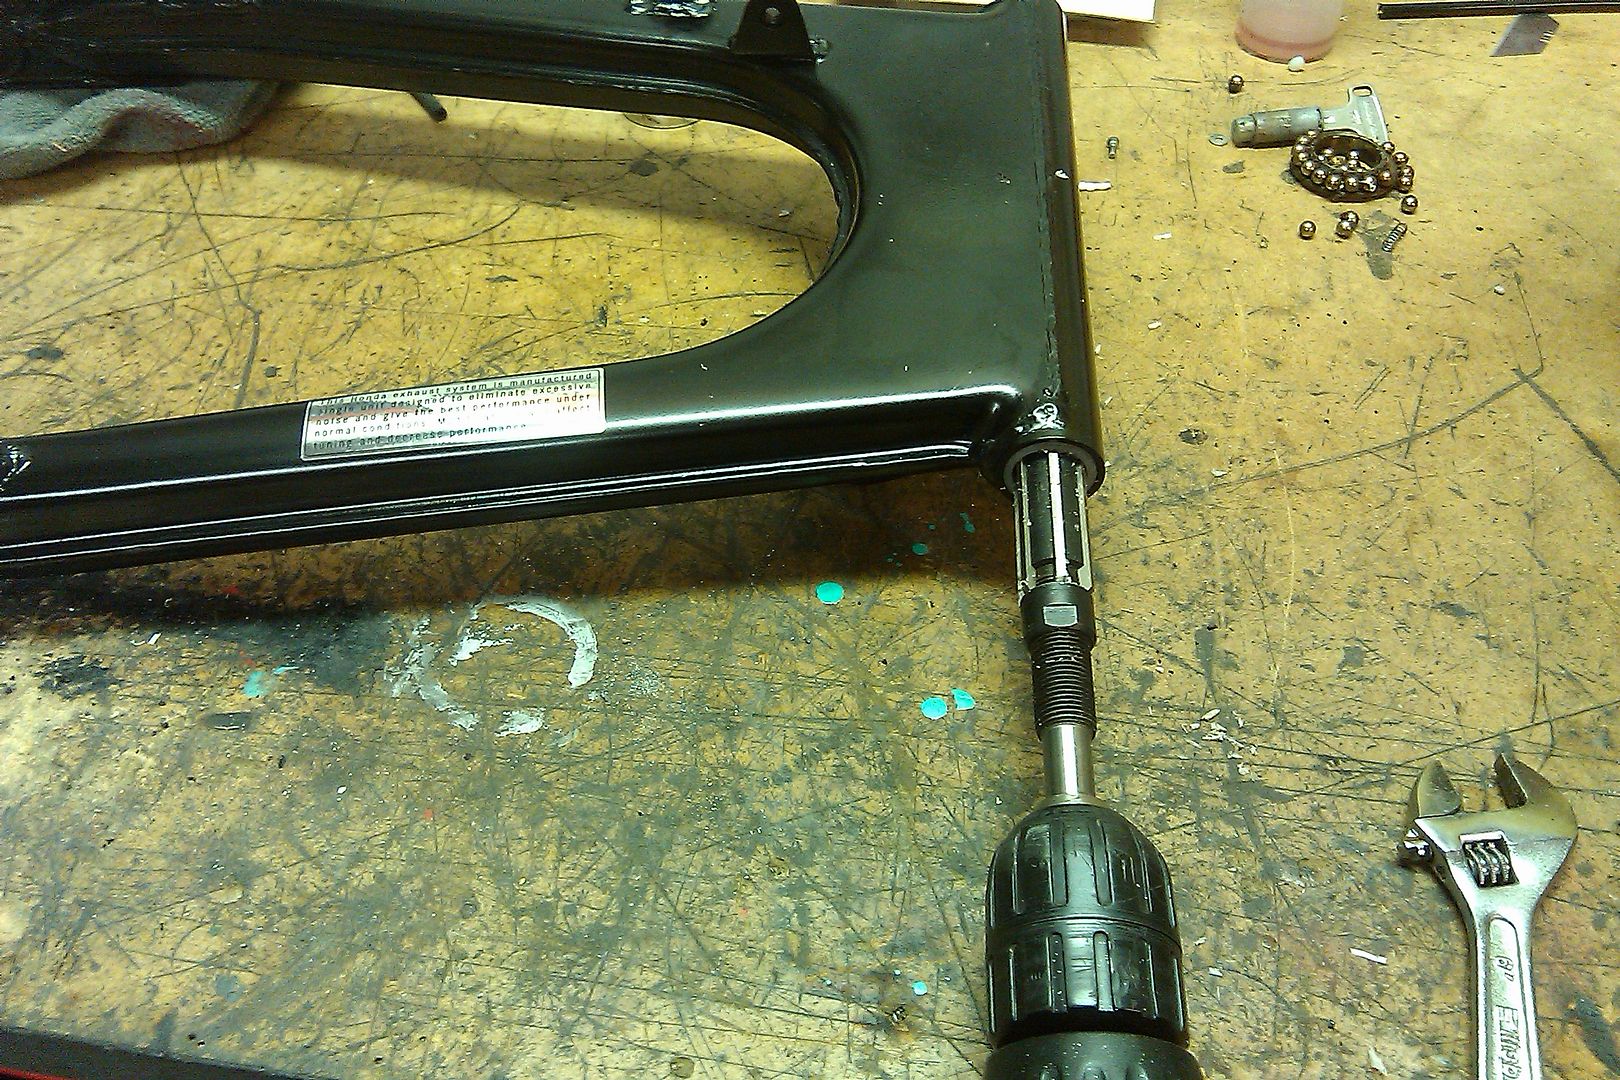
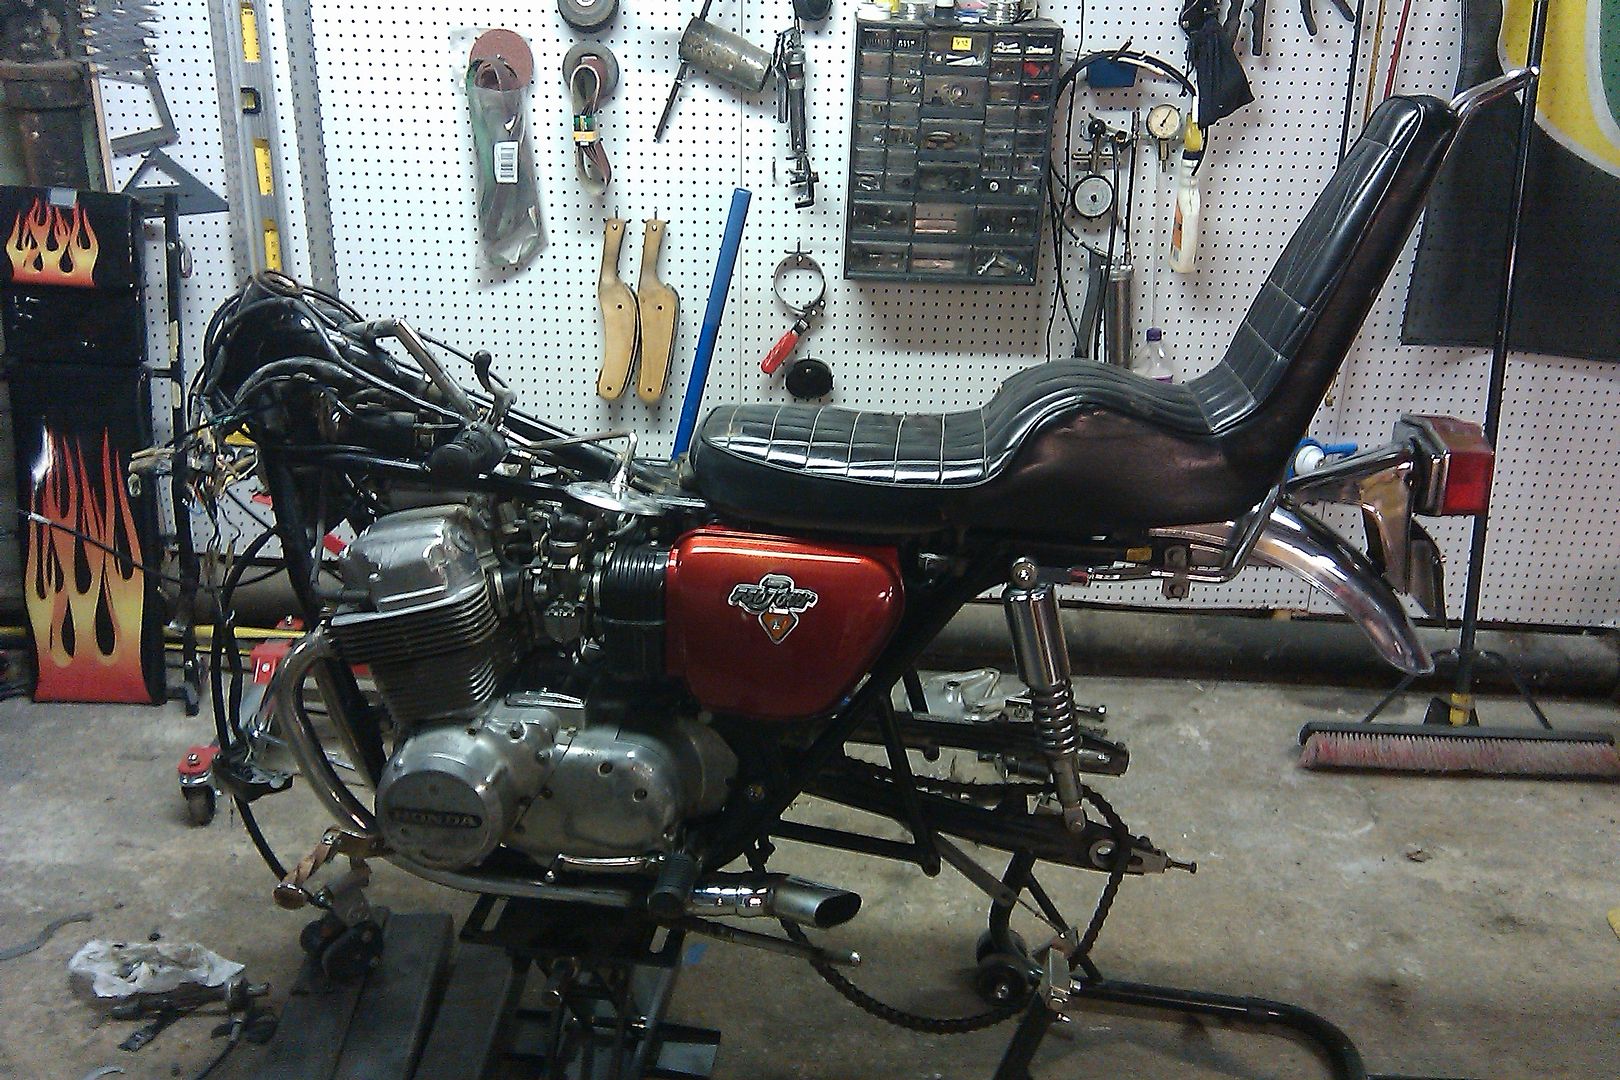
New tubes were not in the budget. Fortunately I cleaned out a workbench last week and found a set of used standard fork tubes from a previous restoration. They have some rust where the head light brackets used to sit, but the seal area was OK. Out came the cherry picker, and 45 minutes later the bike was slammed to the ground with OEM stance. Nice!

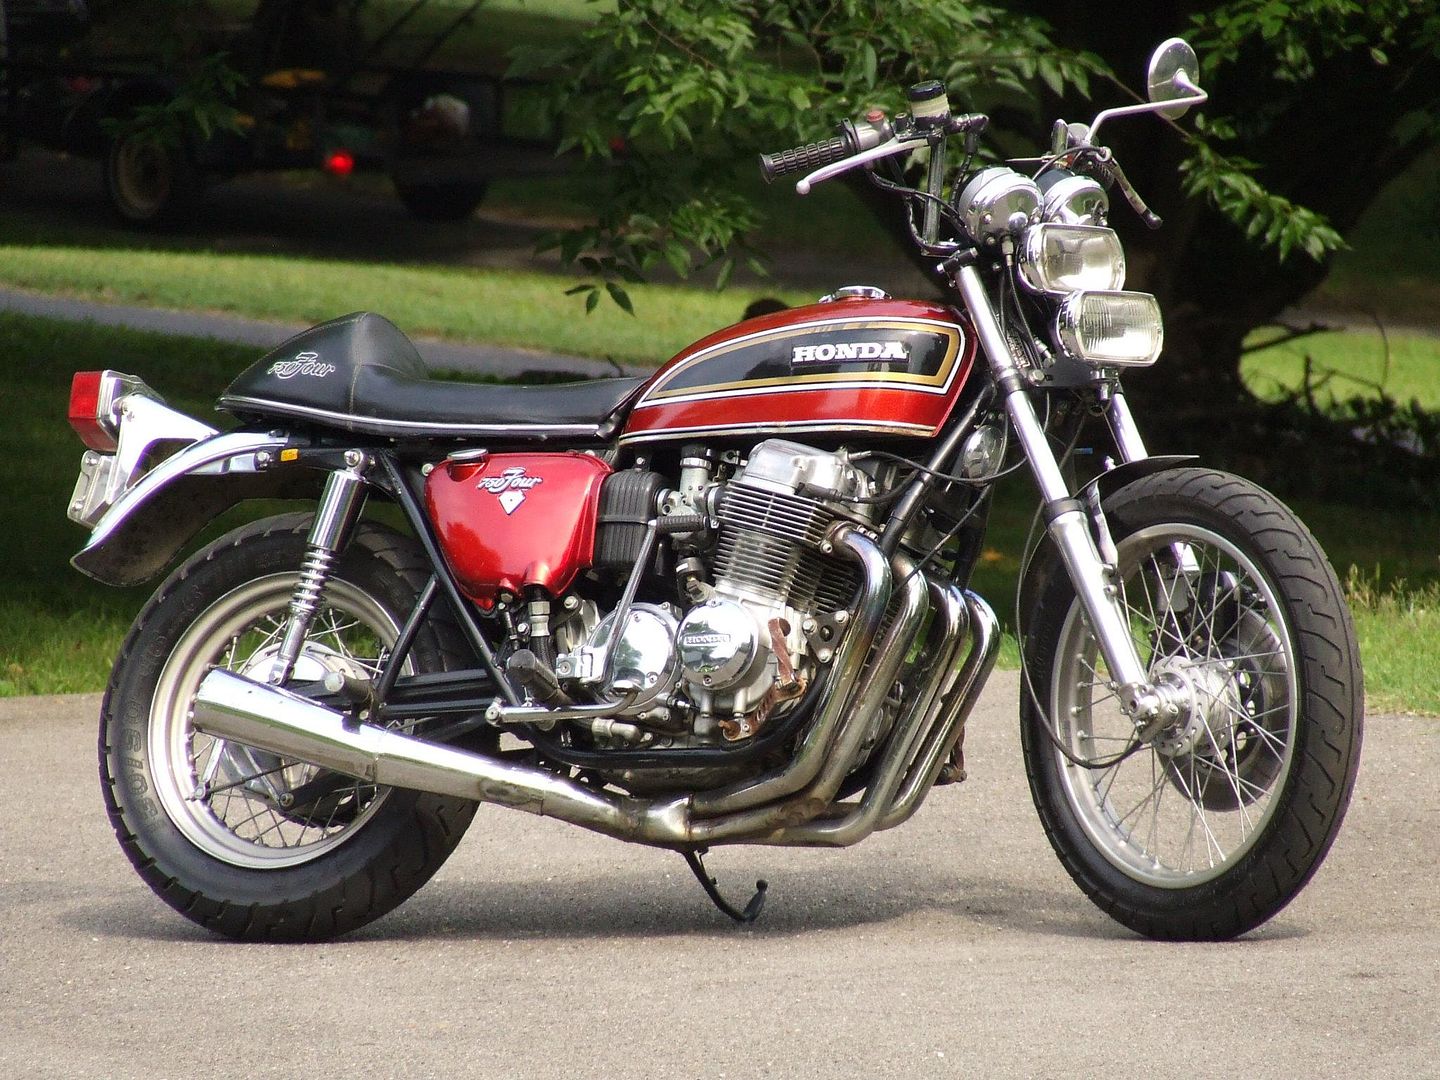
The seat problem was solved on the other side of the big pond, where I found a vintage Giuliari seat on ebay Germany. It had terrible overspray and some busted seams and splits, but it was complete and no one bid on it. For 100 bucks (including shipping to relatives in Germany)  it was mine!!! My parent were shipping a box to me anyway, so they just stuck the seat into the package. This last purchase busted my $1000 ceiling by $50, but having no back pain on the long trip will be priceless!!!!

After cleaning the vinyl with acetone and rubbing off the primer on the delicate logos with silicone grease (works great), I patched the splits with a vinyl repair kit, sewed up a few seams and here it is:


Michael
Nashville/TN

5.09.2012

cb750-1 build/entry: part 4

My CB is ready, has 2 runs to the Dragon already under her belt (650 miles each) and runs strong. I'm ready!!!!

Michael
Nashville/TN


1.18.2012

cb750-1 build/entry: part 3

On my pre-rebuild test drive I noticed a lot of movement from the rear end. The swing arm moved about 0.5 inches sideways! So, out it came, got a quick sand blast and powder coat. The swing arm bushings were badly worn, and the rusty swing arm shaft needed attention, too. Instead of buying new bushings I used a piece of scrap Delrin and turned them on my lathe. After de-rusting and polishing the shaft, I pressed the bushings into the swing arm, and sized the Delrin bushings with an adjustable reamer to the shaft dimensions.

Michael
Nashville/TN


1.17.2012

cb750-1 build/entry: part 2

The wheels were quite corroded. Re-lacing was out of the budget, so I simply glass bead blasted them and clear powder coated the whole wheel. Good thing to have a oven (barely) big enough to hold the rims. Although I had to leave the oven door a crack open for the front one... worked anyway.

All the wheel bearings turned out to be in good shape, so a good cleaning and fresh grease gave them a second life. I switched the headstock bearings to good used tapered ones that I salvaged off another bike. After glass bead blasting and powder coating the triple trees and lower forks, sanding and polishing the 6 inch over fork legs, the front end went back in the frame.

Michael
Nashville/TN


1.13.2012

cb750-1 build/entry: part 1

Hi!
Here is my mail again, saw on the website that you lost it...
The bike is already on the road, runs strong!

Previously sent message:

When I learned about the OMS, I had to be in it! A week earlier I came across a cool CB750 Chop, that had been sitting since 1981. The bike is a typical 70's chopper, with 6" over forks, King and Queen seat and a 16" Harley rear wheel. The price was right at $750, so I bought it. I will only clean her up and make her safe, and keep the 70's vibe.
So far I spent $175 on tires, $17 on fork seals and 20 bucks on oil. Gonna be tight for the new chain...

See you!
Michael
Nashville/TN