
Showing posts with label OMS 2012. Show all posts
Showing posts with label OMS 2012. Show all posts
6.15.2012
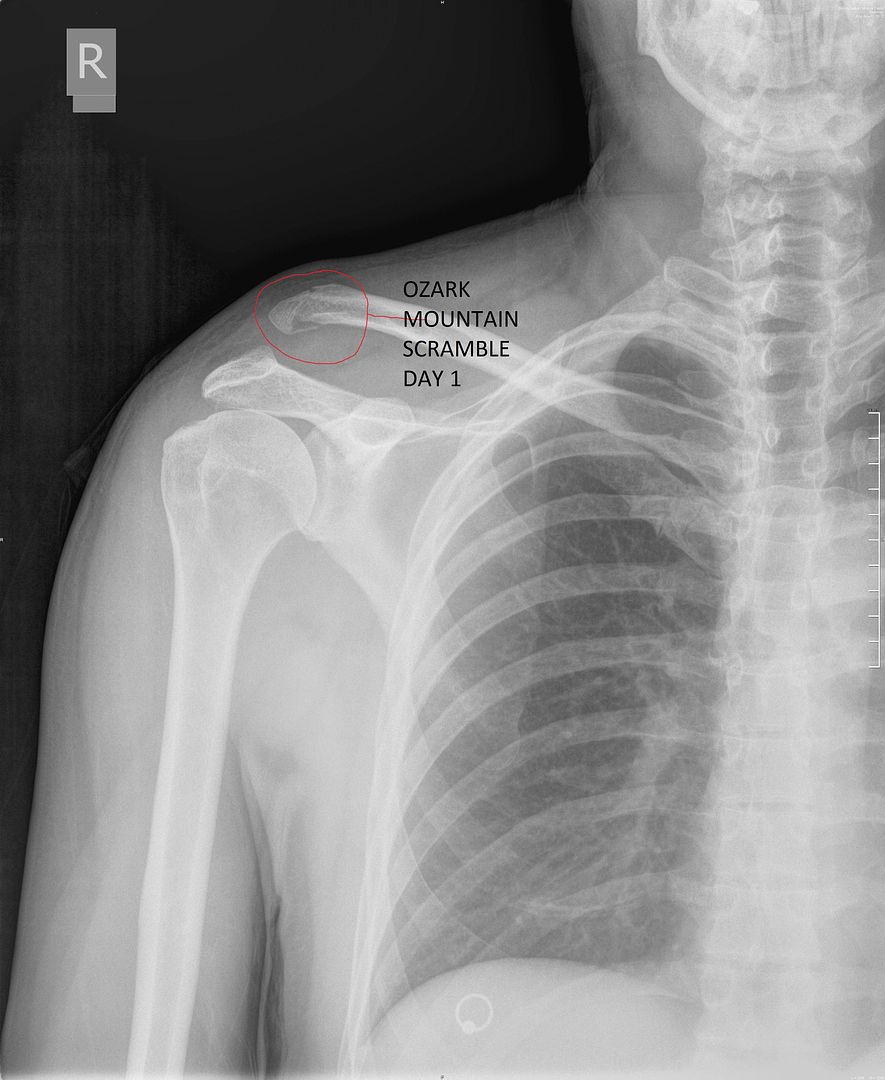
OMS 2012 : CARNAGE
It was mentioned previously that a couple riders went down on day one escaping with just a few bumps, bruises, and scrapes. Apparently that isn't entirely true as one of the Brads managed to break a collar bone. This beast of a man rode an additional 600 plus miles on the injury, and didn't even see a doctor for a full week just to get a look at it. Here's the trophy shot.
6.11.2012
OMS 2012 : DONE
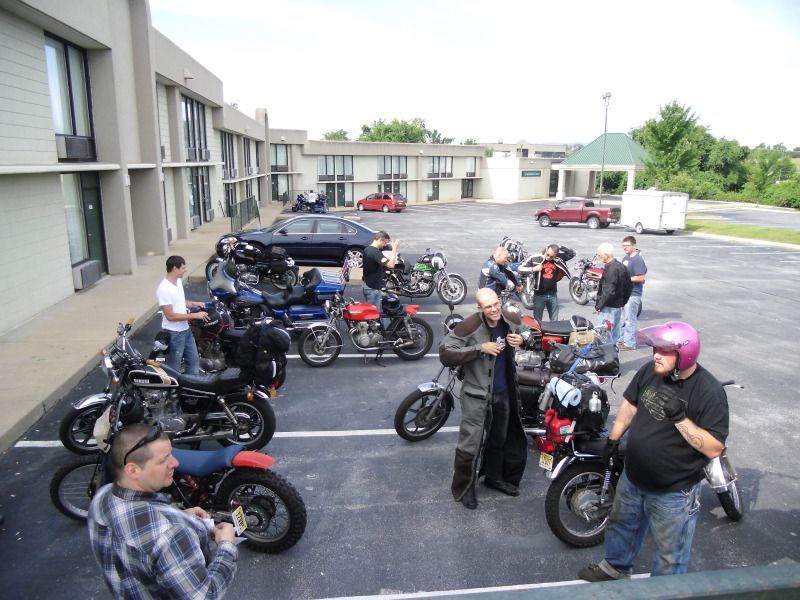
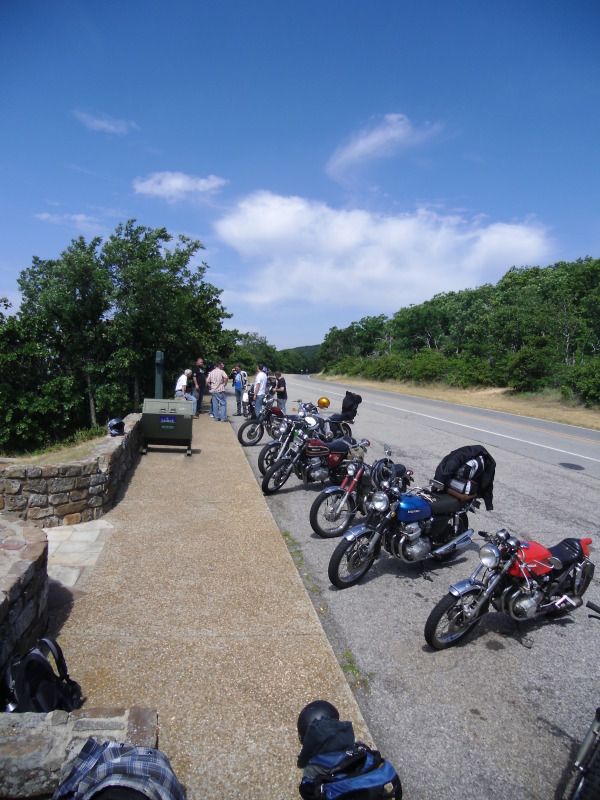
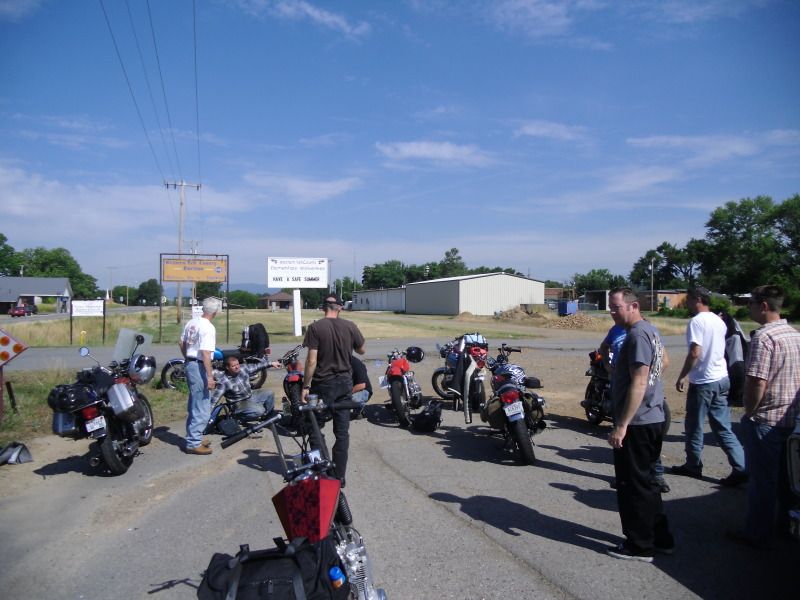
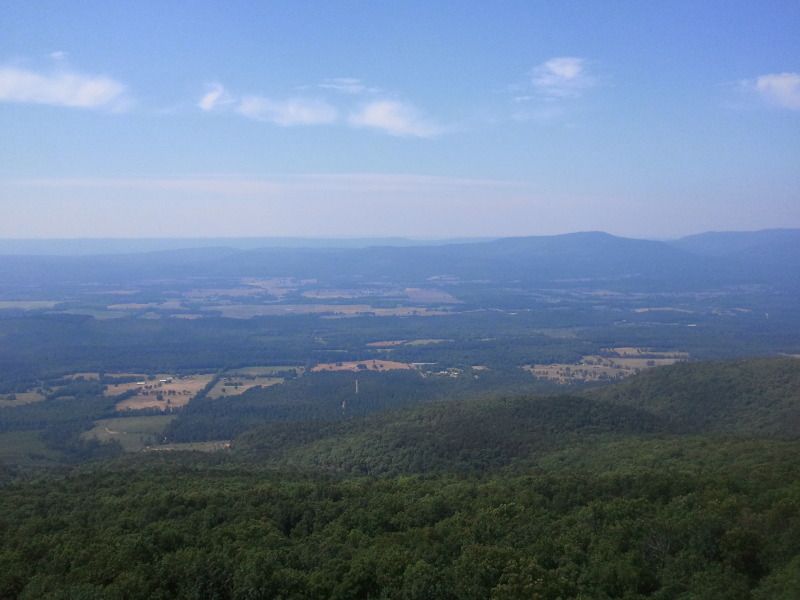
If you didn't make this year's ride, then you truly missed out on something special. I want to thank everyone who made it out, and even to those who attempted but missed the mark. To quote Tim on the subject "I can sum this trip up with three words. Fun, fun, fun!".
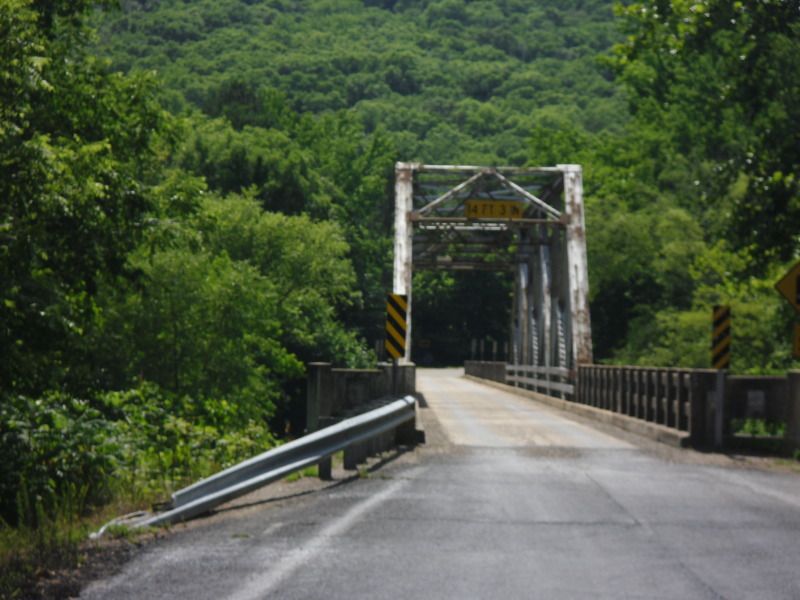
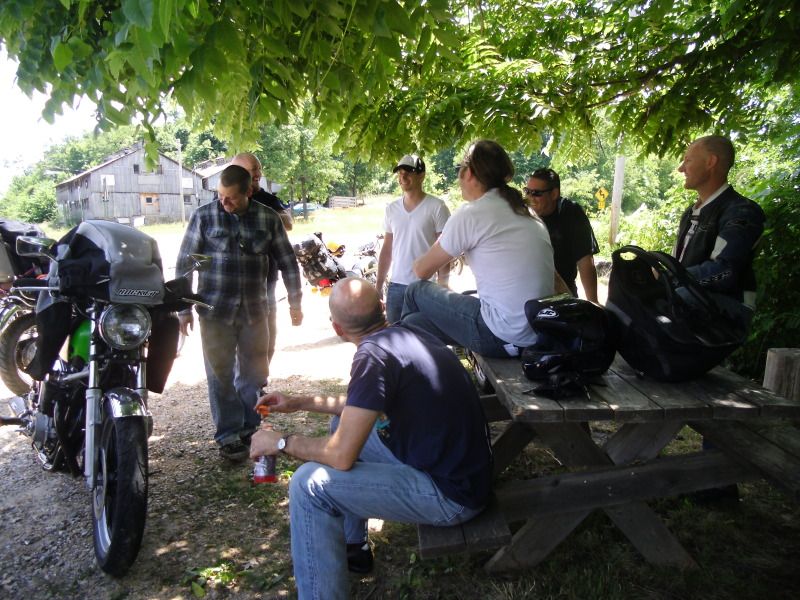
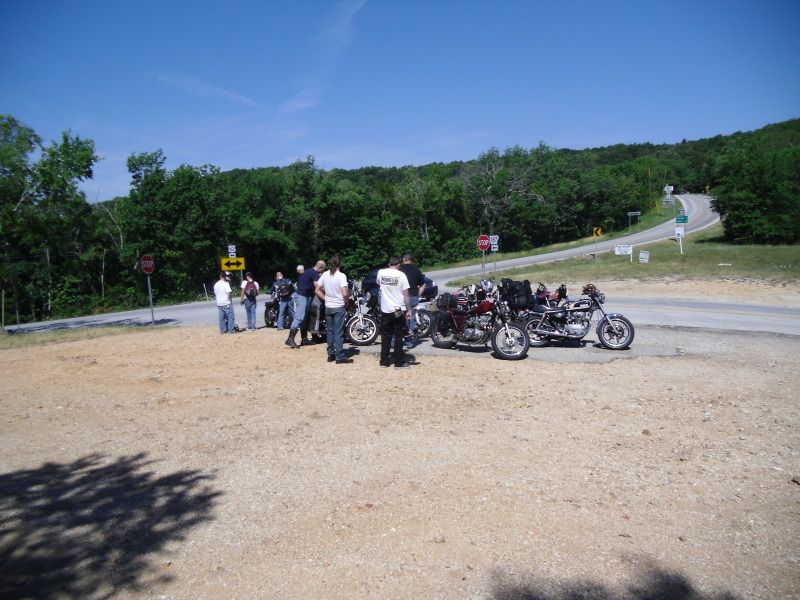
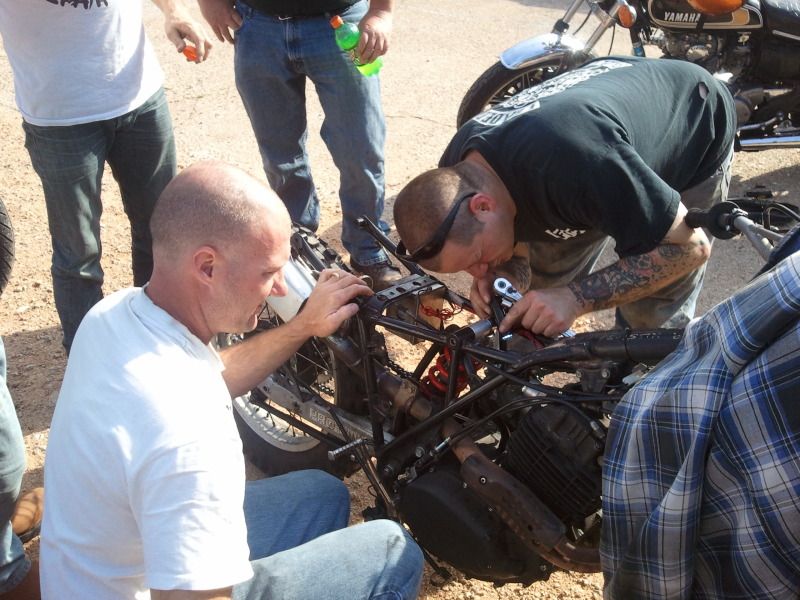
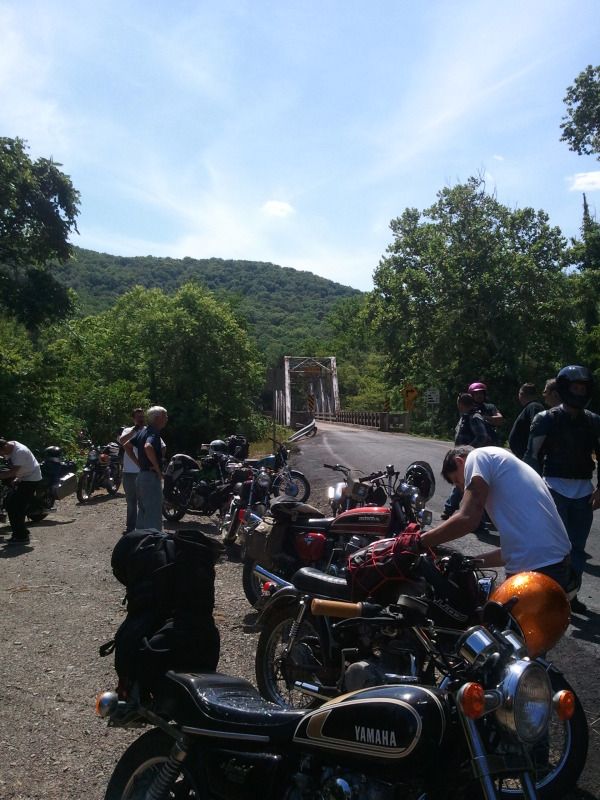
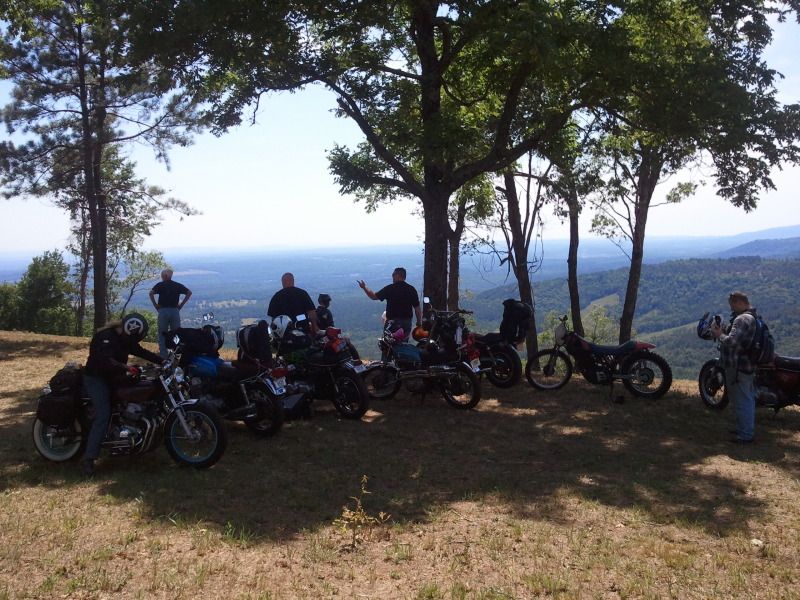
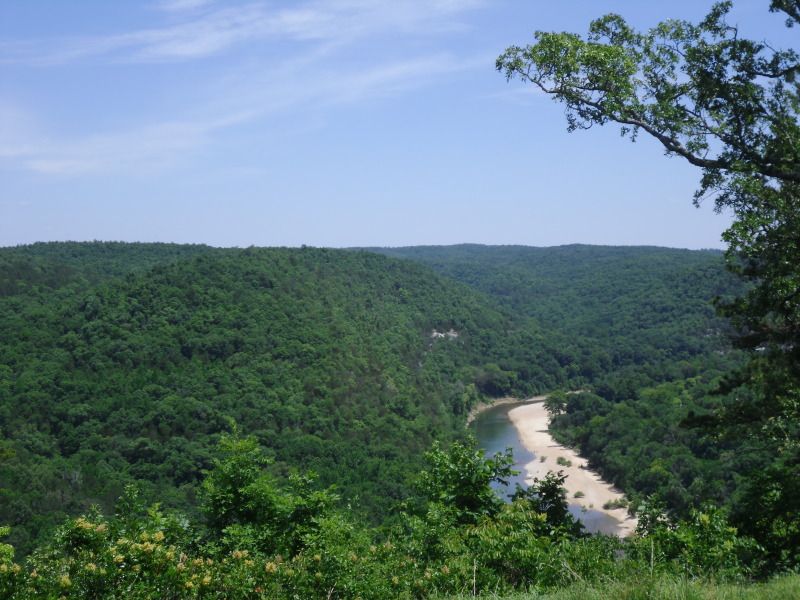
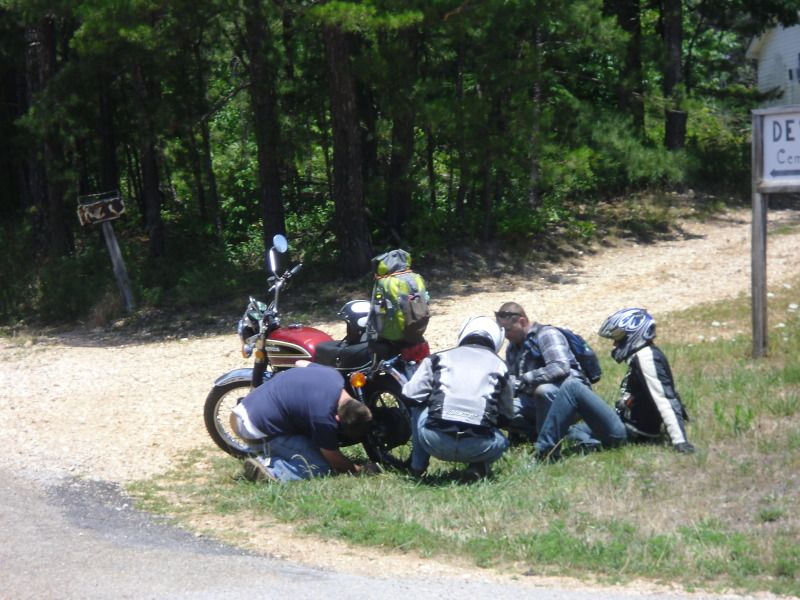
I won't go into full detail of every event that happened over the three days, but maybe a summary of sorts to highlight the most interesting moments. Day one was a real humdinger. We had a couple slight accidents, some parts fall off, and what looked like a terminal bike diagnosis. At 2am one of the coolest parking lot fixes in the history of ever brought the dead back to life and we were back in business. Day two brought a punctured tube, a license plate bracket jump off, and a sheared off fender bolt. Follow that up with a virtually uneventful day three, and we are all caught up. No attitudes or whining, just riding and wrenching.
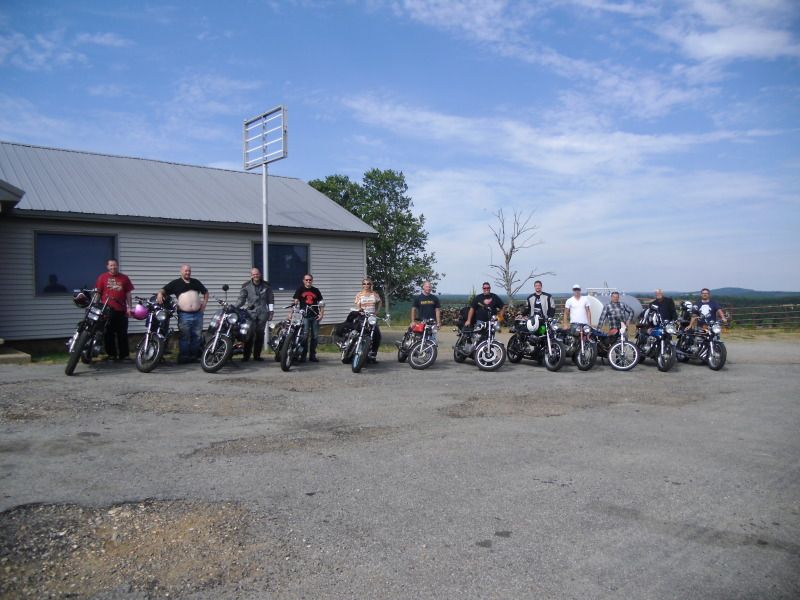
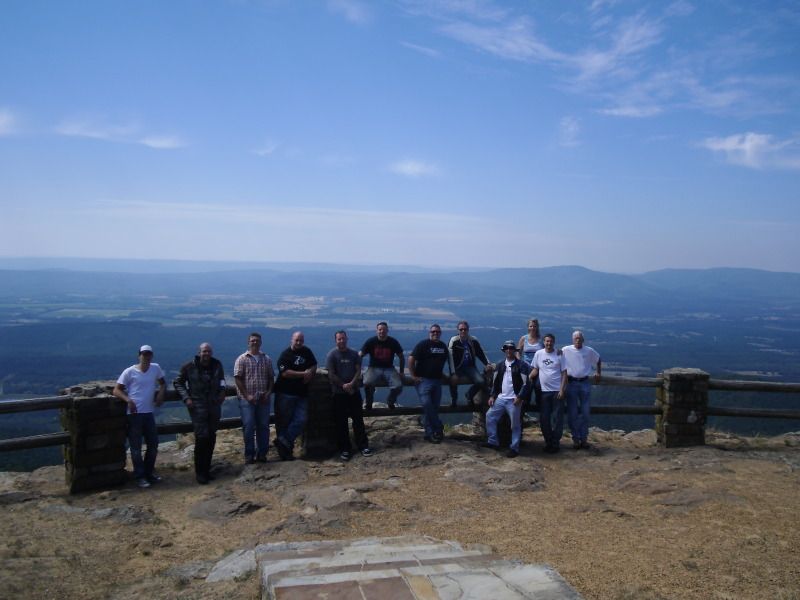
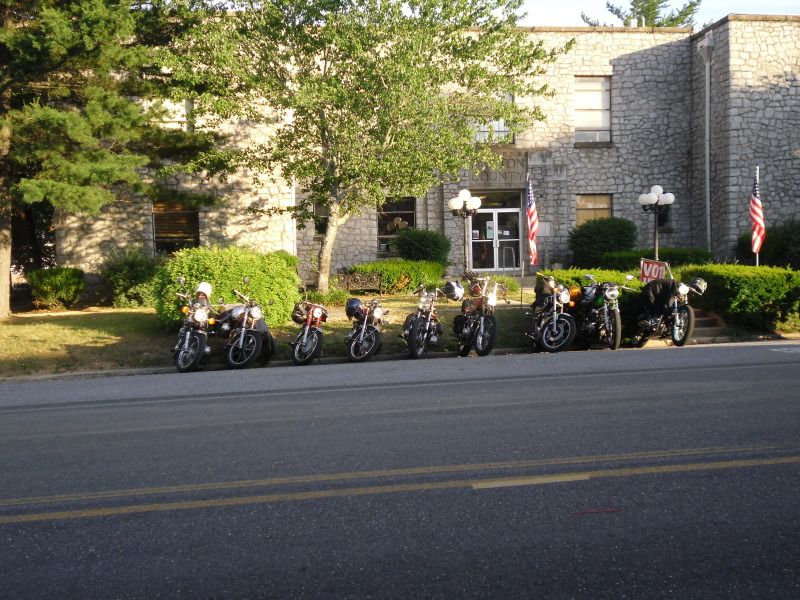
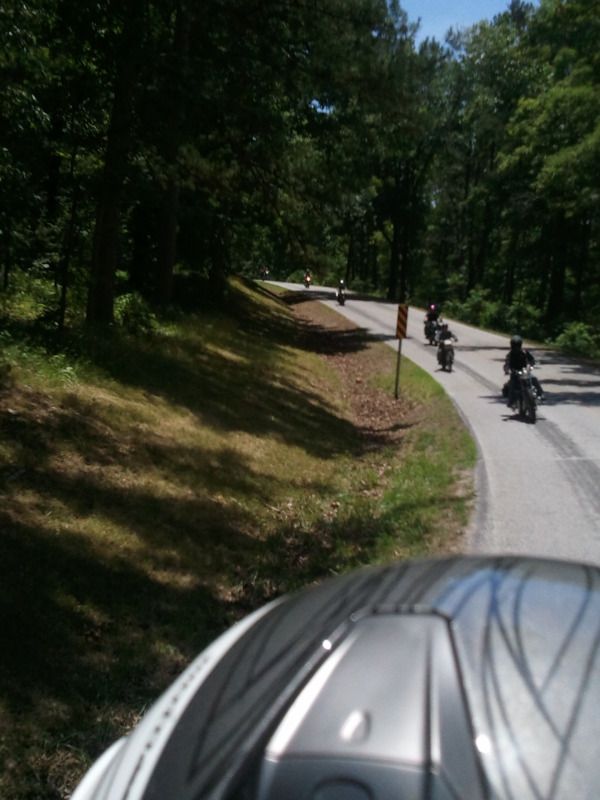
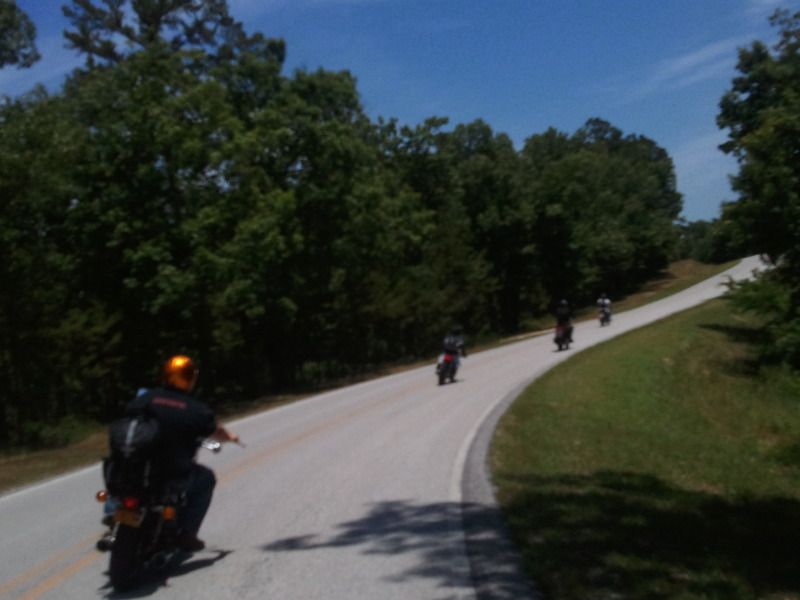
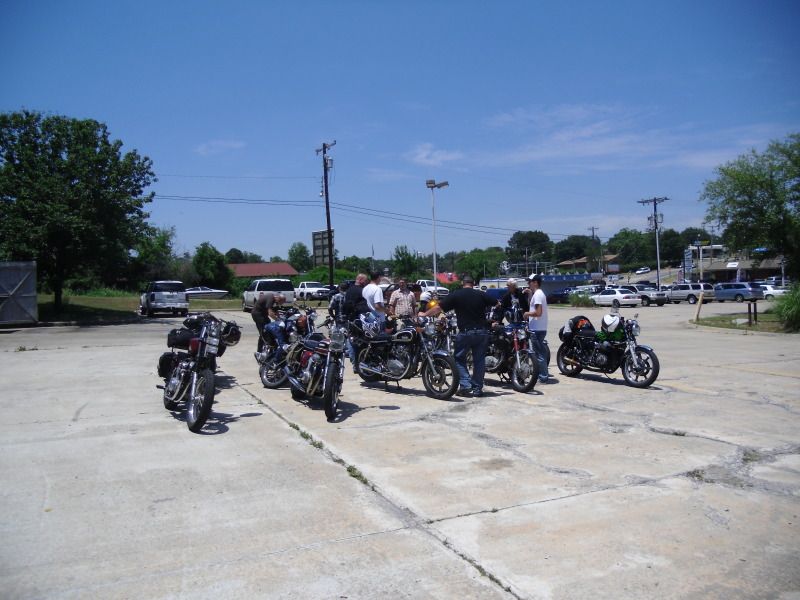
With all that said, you probably want to see some pics. I'm still getting pics collected from other riders, so here is a few from what I have gathered so far.


I won't go into full detail of every event that happened over the three days, but maybe a summary of sorts to highlight the most interesting moments. Day one was a real humdinger. We had a couple slight accidents, some parts fall off, and what looked like a terminal bike diagnosis. At 2am one of the coolest parking lot fixes in the history of ever brought the dead back to life and we were back in business. Day two brought a punctured tube, a license plate bracket jump off, and a sheared off fender bolt. Follow that up with a virtually uneventful day three, and we are all caught up. No attitudes or whining, just riding and wrenching.
With all that said, you probably want to see some pics. I'm still getting pics collected from other riders, so here is a few from what I have gathered so far.
6.04.2012
xs650 build/entry: part 5
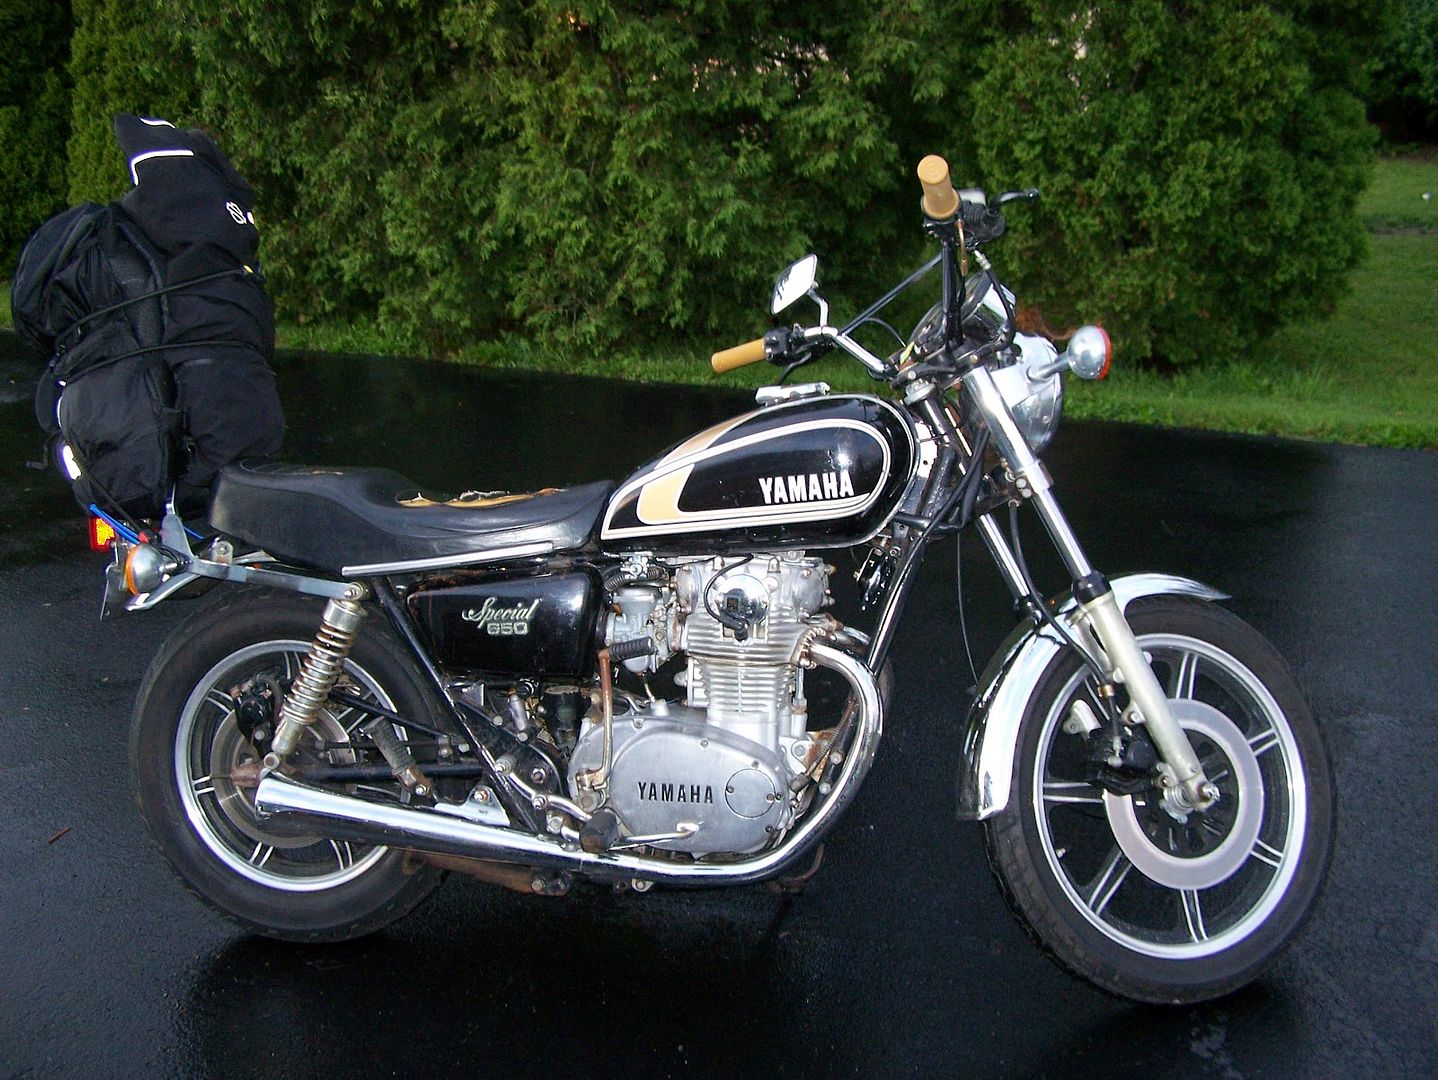
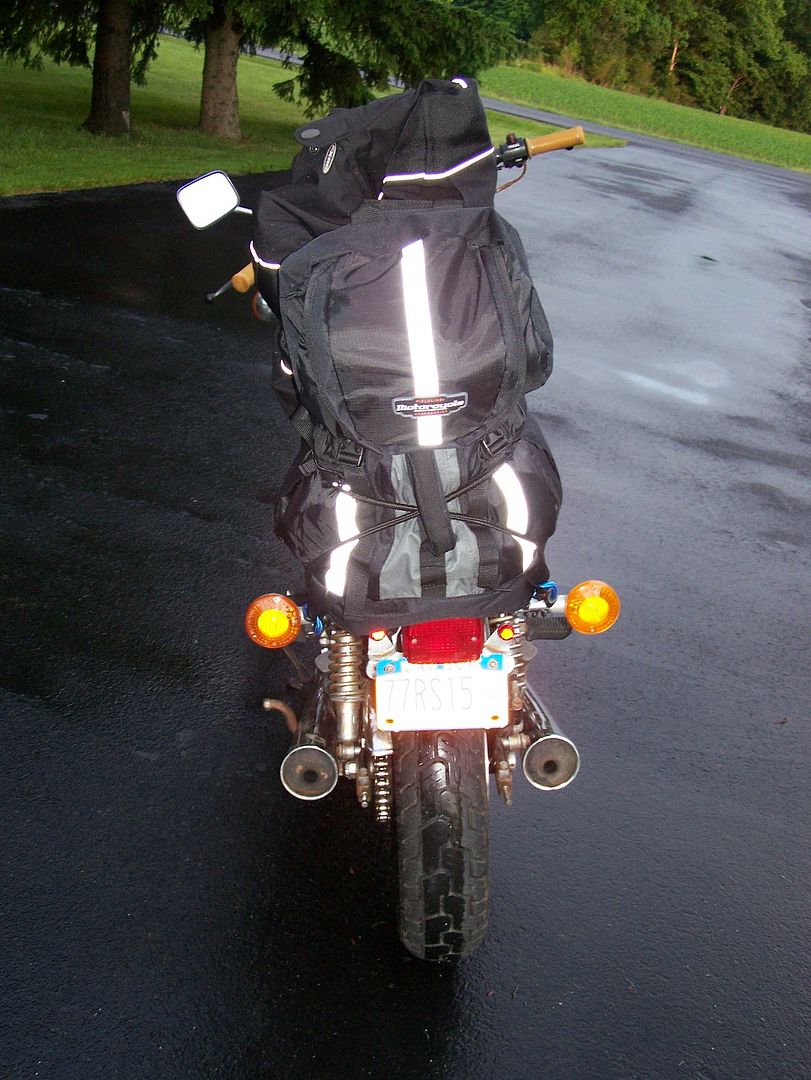
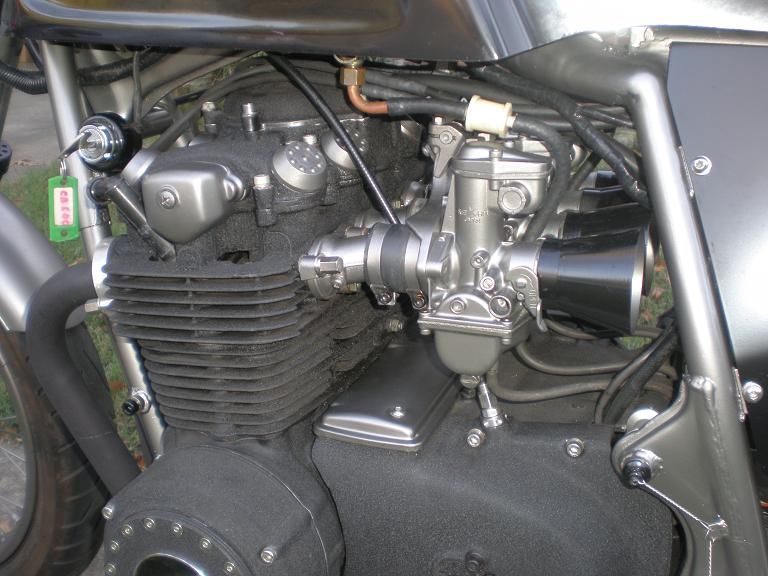
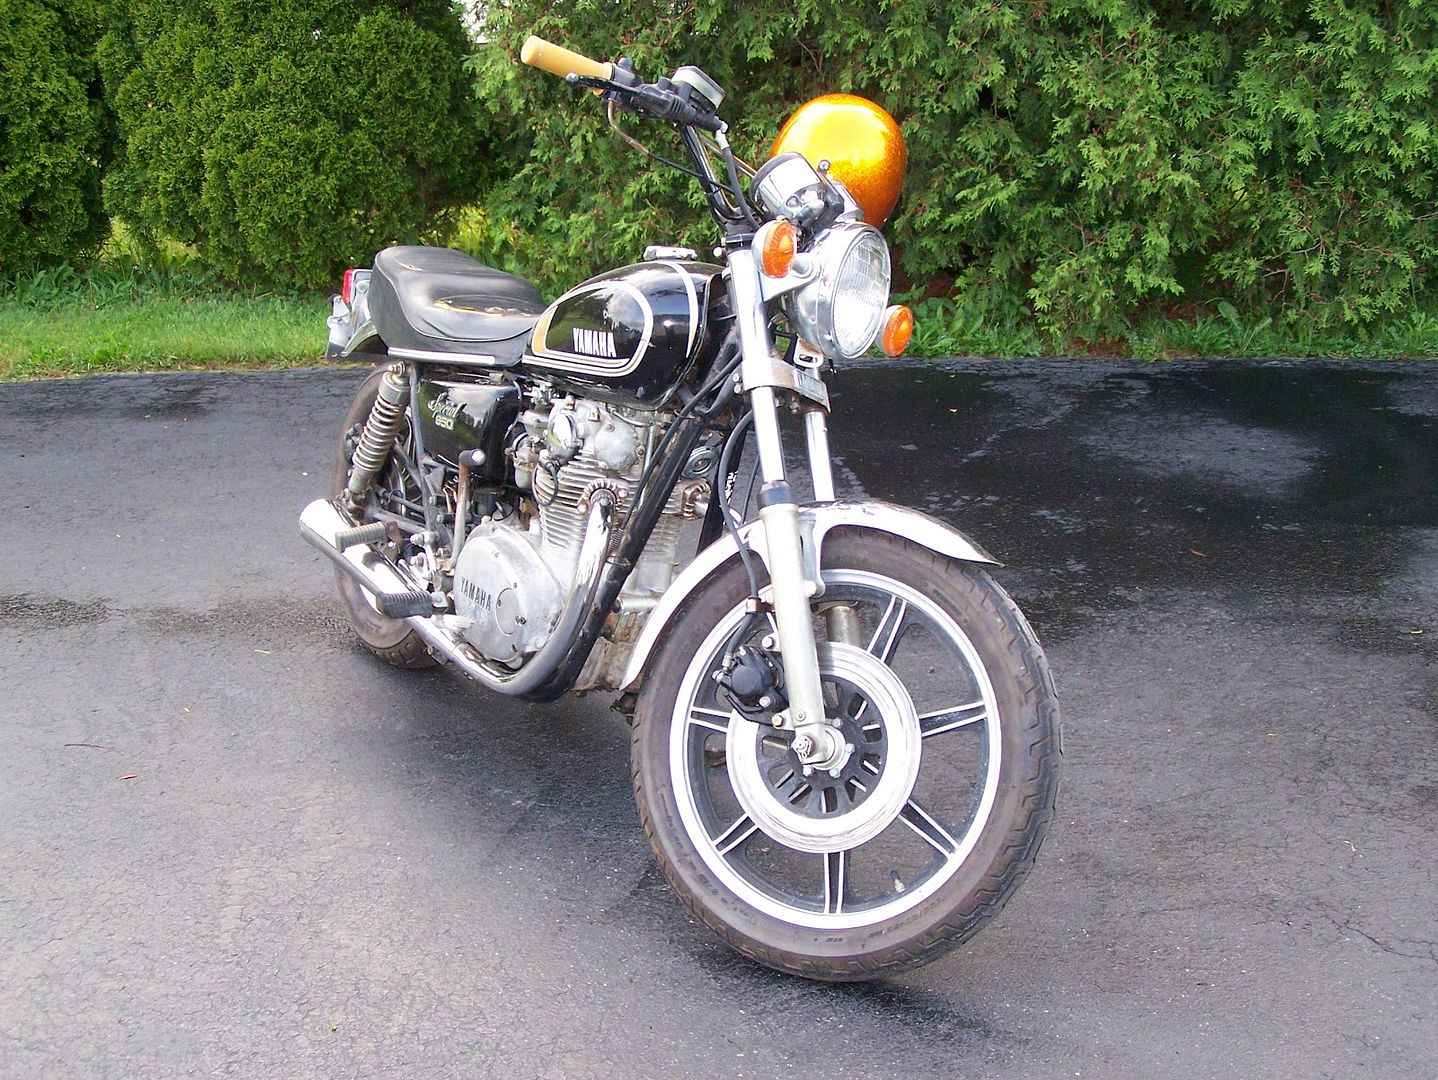
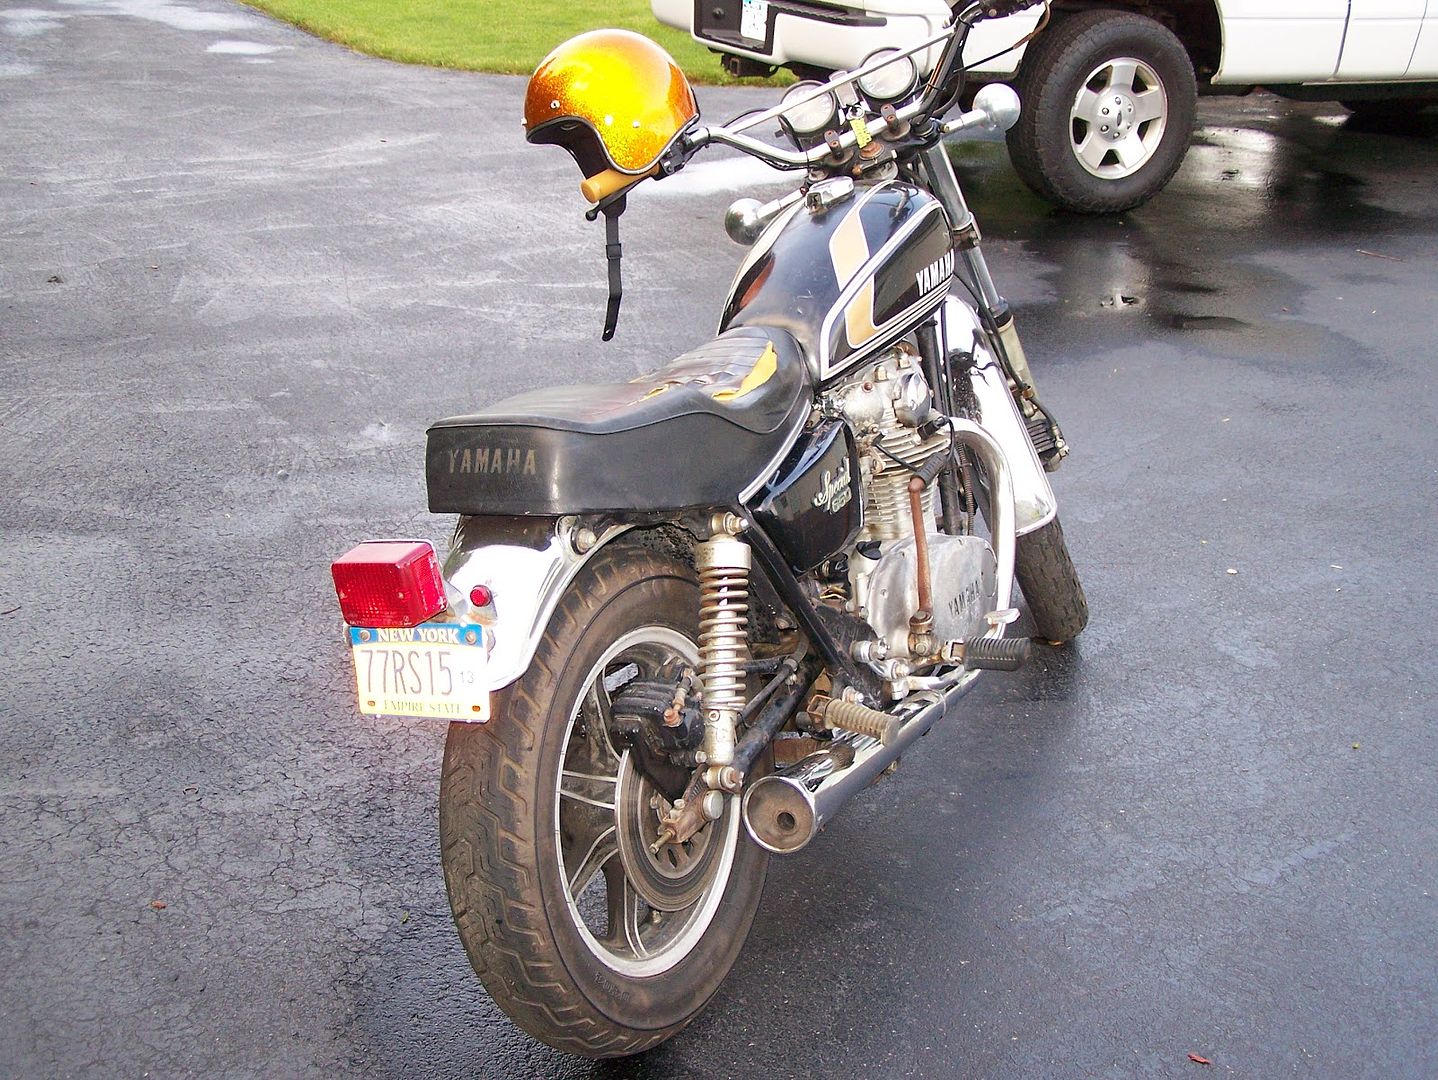
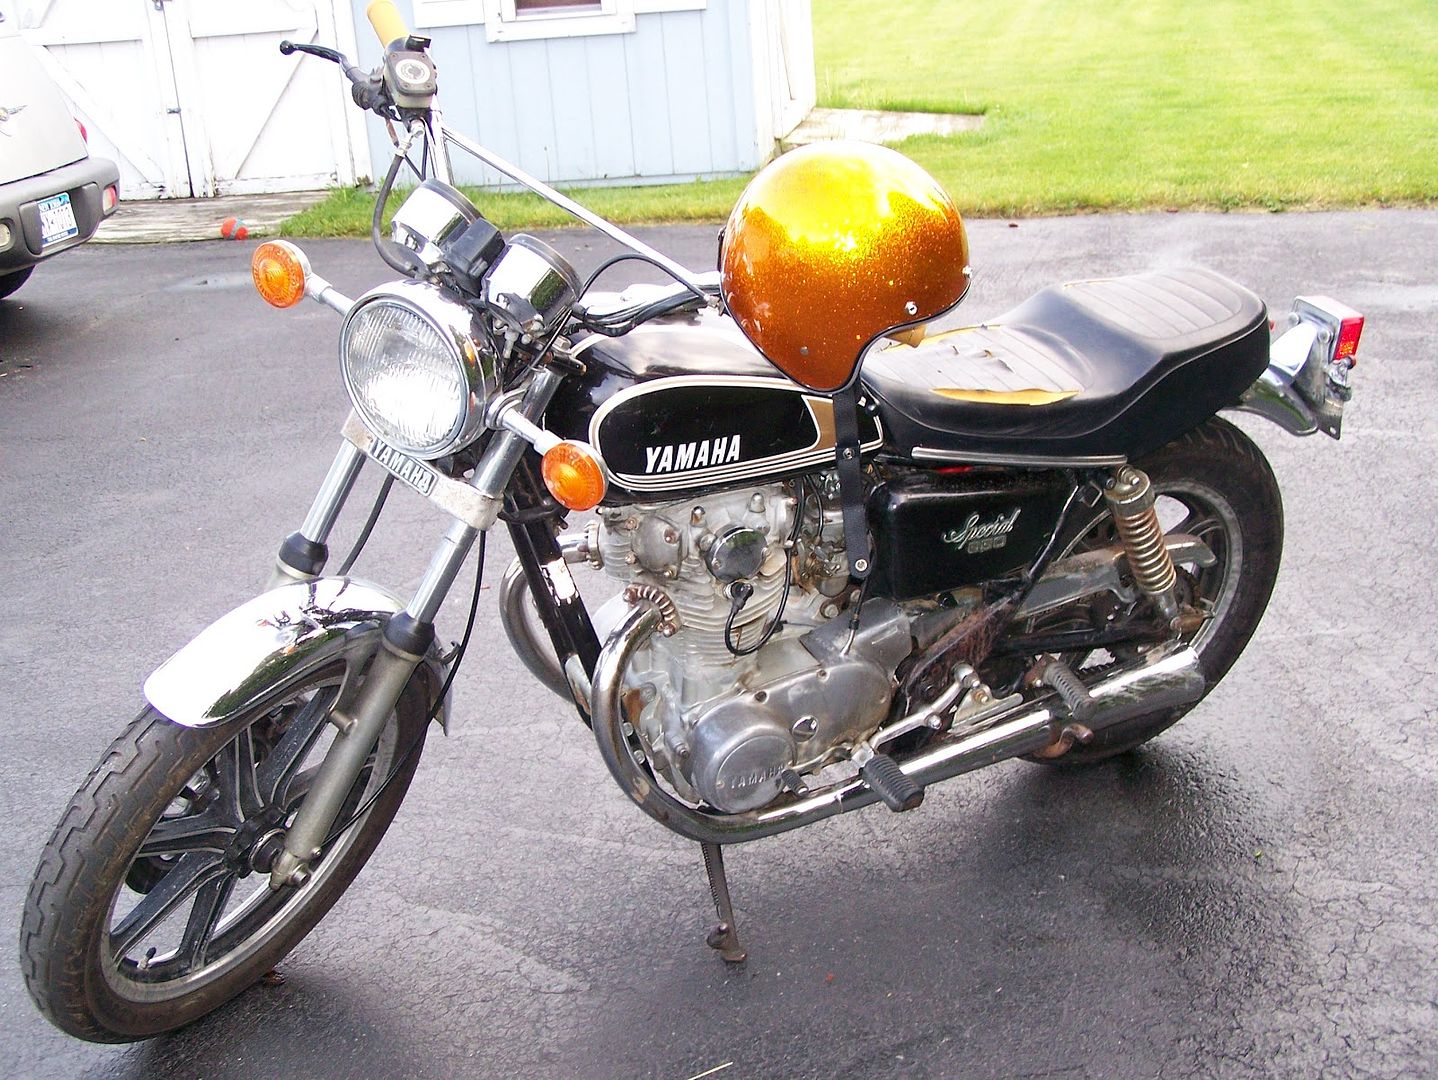
We have done the service work to make this XS650 that has been slumbering in a barn since 1986 road ready. It is 100% road legal. I have my pack that we did a Product Review in a post last fall mounted up and ready to go. All that is left is load Purple Rain on the truck to trek 1100 miles to the Ozark Mountain Scramble for 3 days of mountain riding and hopefully not much wrenching.
Tim
Tim
6.02.2012
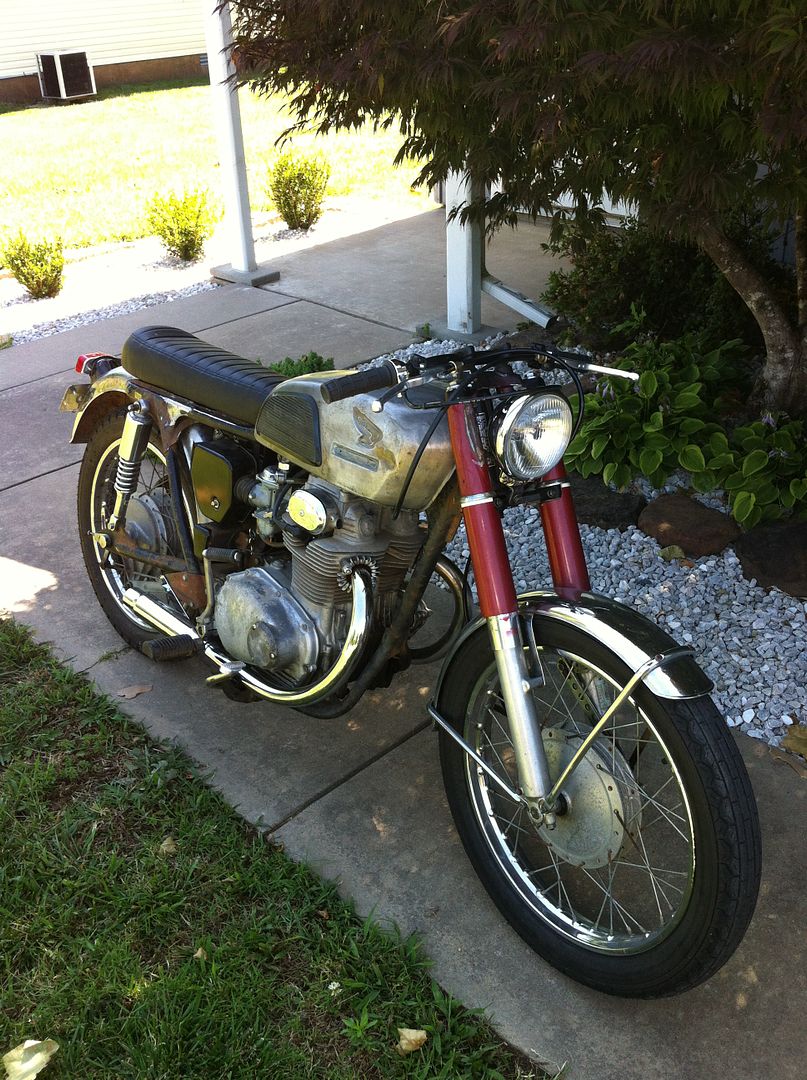
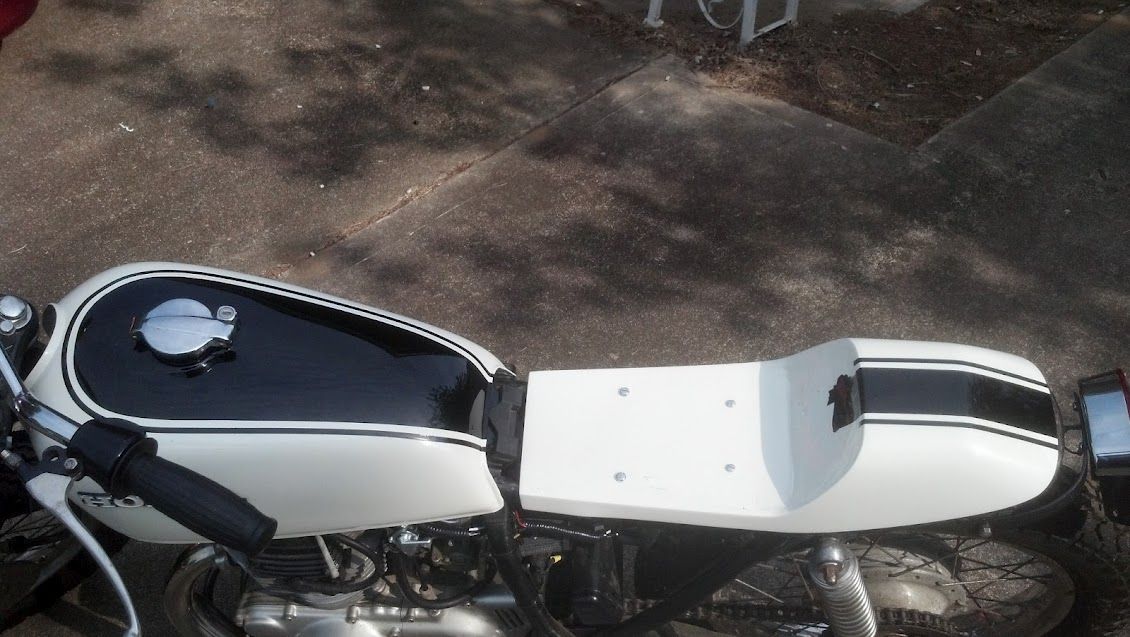
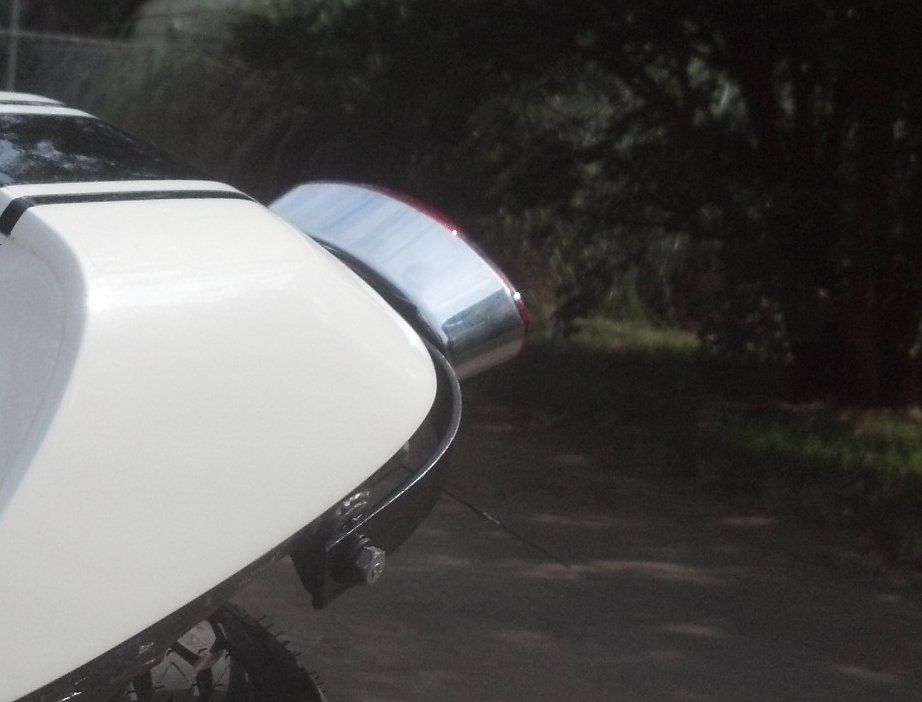
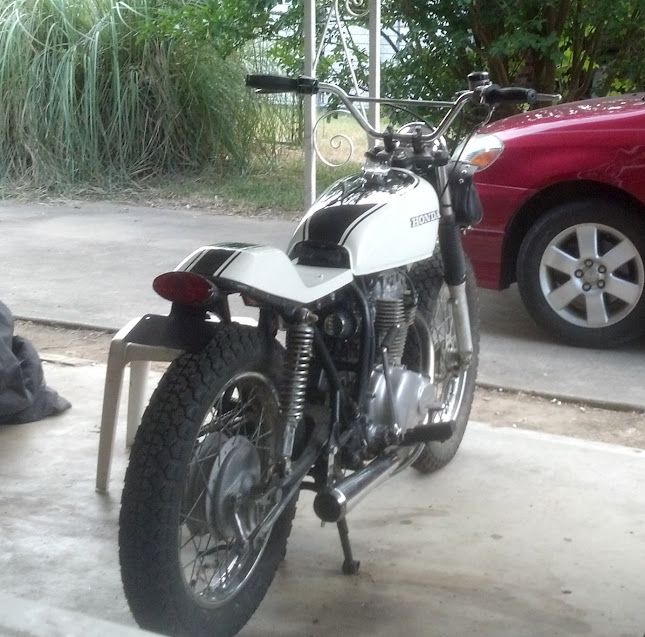
cl350 build/entry: part 13
Got my seat back from the upholstery shop today. Pretty stoked on how it all turned out, but it definitely makes the rest of the bike look crappy. Put a few miles in today on it, and I think it will do the job. Scramble ready.
6.01.2012
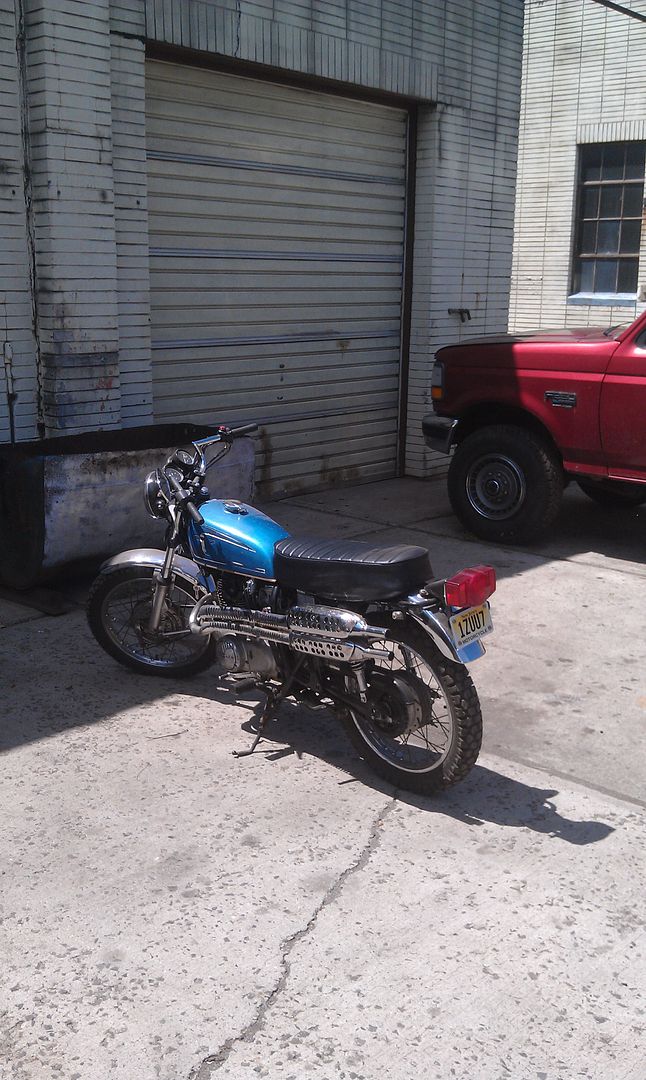
xs650 build/entry: part 4
We rode the Purple Rain XS650 to a bike night in Buffalo NY. This is 60 miles each way from my place. I wanted to do a final shakedown to prove to myself this bike will stay together for 600 miles of mountain riding in the Ozarks. This was the first time that I rode the beast at night. It was cool on the ride home 52 degrees and the motor ran flawless. The standard incandescent lighting leaves a little to be desired but useable. It makes me think how far we have come with modern Halogen lighting and now HID units make the Halogens look like a candle flame.
In retrospect with this project I had a bunch of chopper and custom ideas but after we worked all the bugs out to make the bike reliable it did not leave much cash for customization. All told I came in at $65 under budget the way the bike sits today. It is funny on how much little items like gaskets and spark plugs and fuel system parts add up when you only have a couple of hundred bucks to spend. What you end up with is a 33 year old stock looking bike that is hopefully reliable.
Tim
5.29.2012
cb360-1 build/entry: part 3
The bike is all legal and now the clutch is done. I put 100 miles on it. It needed a clutch I got that done ran around the parking lot good to go don't want to use up my miles. See you all soon.
James

James

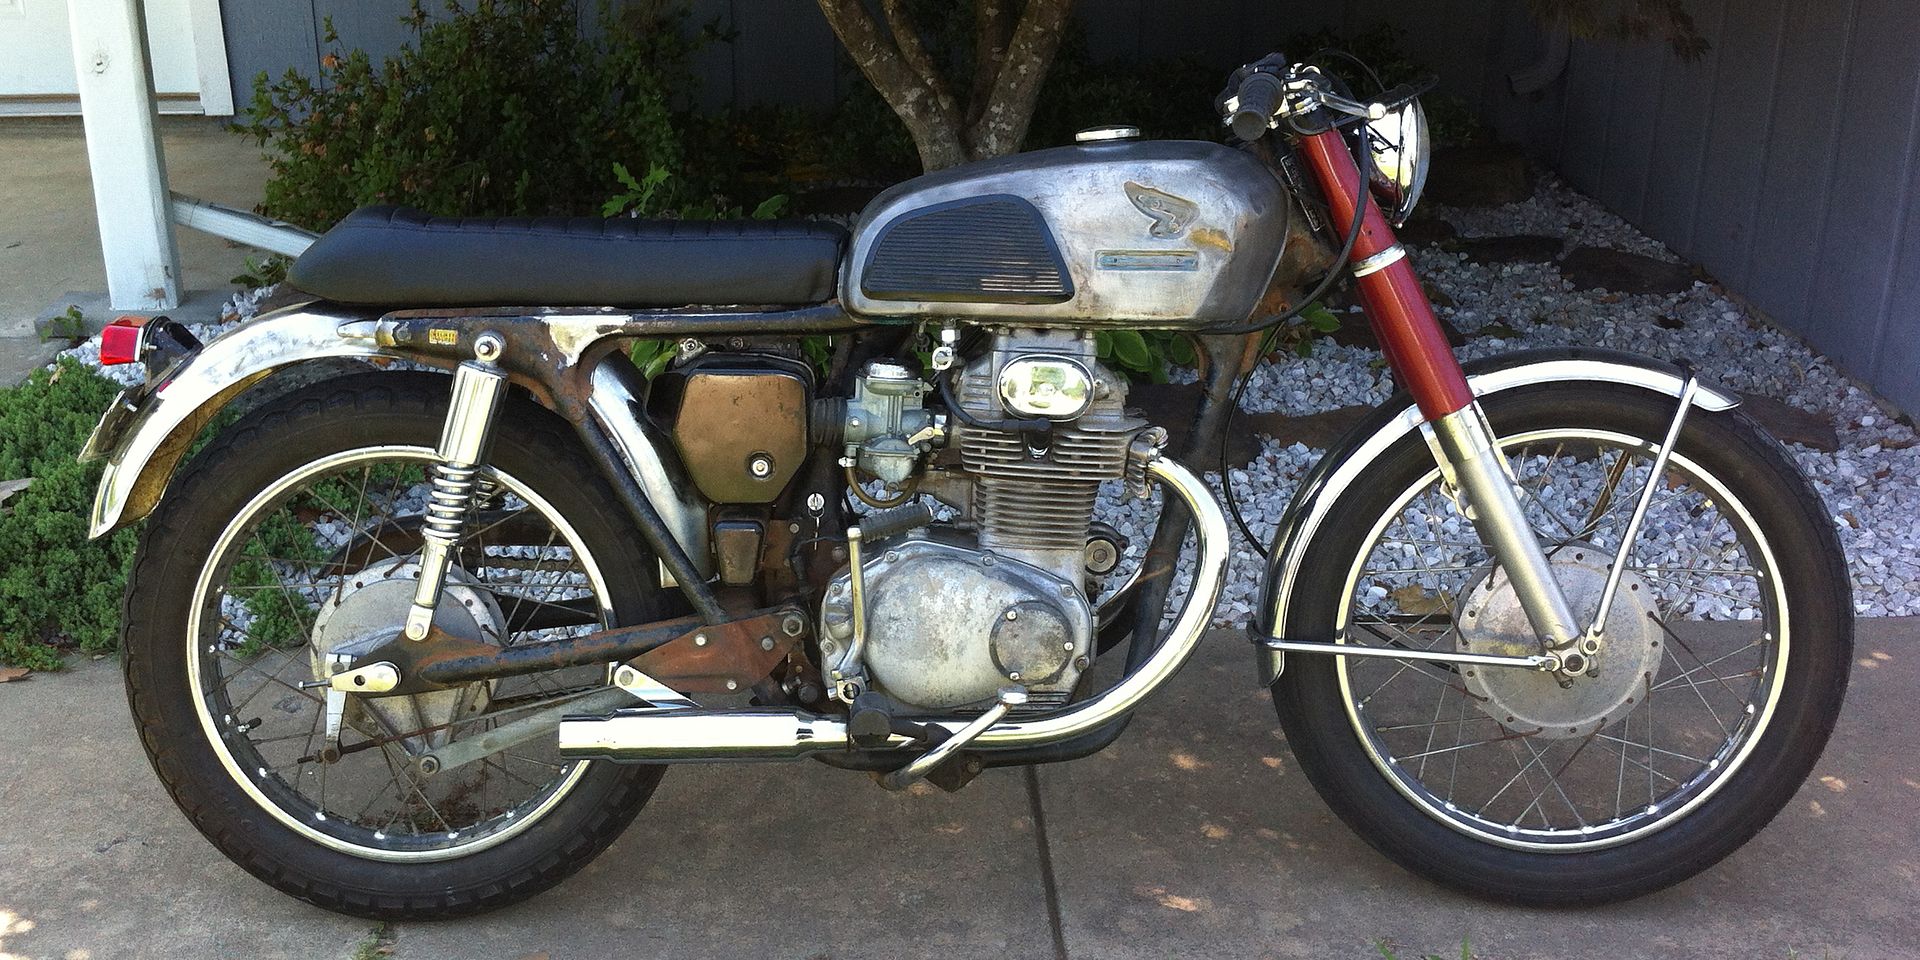
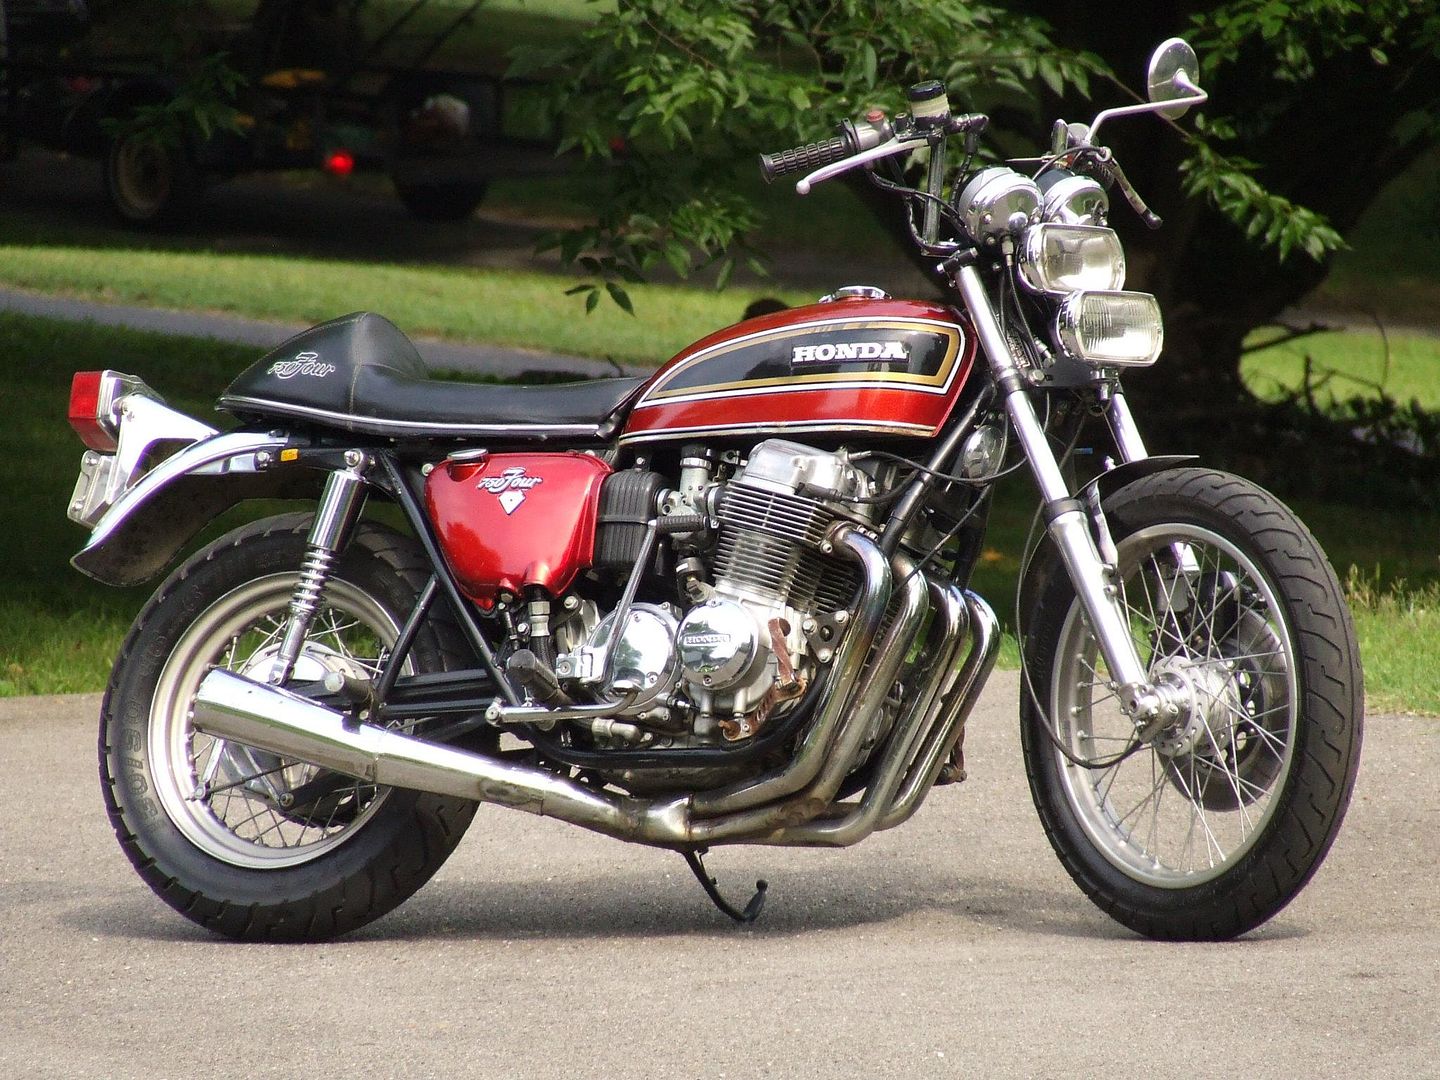
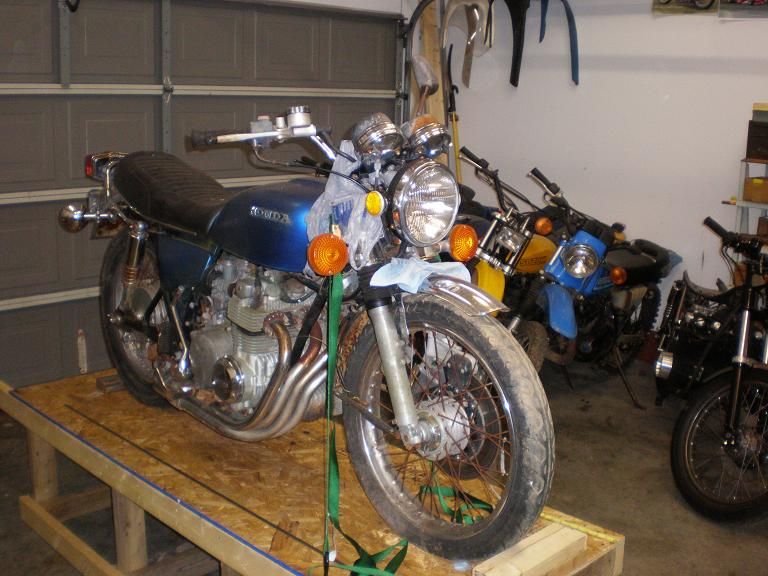
cb750-1 build/entry: part 5
After two 700 mile trips it was time for a reality check:
The king and queen seat looks awesome, and the sissy bar is really great to bungee your stuff to, but the seat is totally uncomfortable. My back went on strike, and so I started looking for a new, old seat without breaking the bank.
The 6 inch over forks match the seat perfectly, but twist like soft pasta when I just look at the brake lever, and god only knows how much bending they will still take after 36 years, before fatigue sets in terminally. They had to go!!!

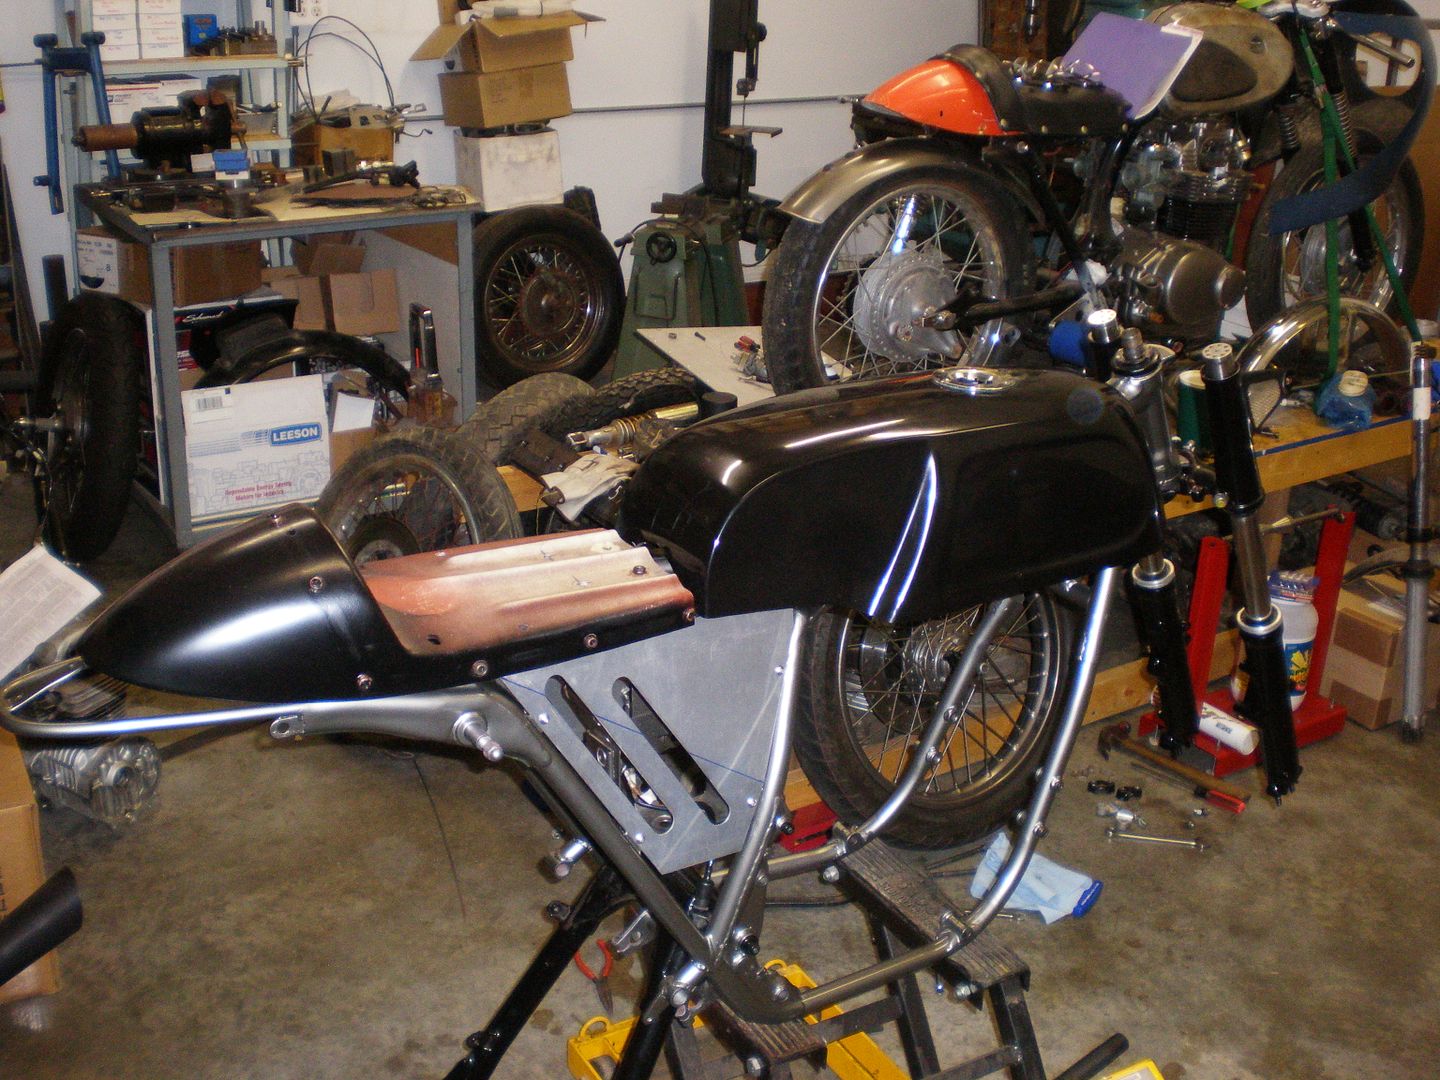
New tubes were not in the budget. Fortunately I cleaned out a workbench last week and found a set of used standard fork tubes from a previous restoration. They have some rust where the head light brackets used to sit, but the seal area was OK. Out came the cherry picker, and 45 minutes later the bike was slammed to the ground with OEM stance. Nice!
The seat problem was solved on the other side of the big pond, where I found a vintage Giuliari seat on ebay Germany. It had terrible overspray and some busted seams and splits, but it was complete and no one bid on it. For 100 bucks (including shipping to relatives in Germany) it was mine!!! My parent were shipping a box to me anyway, so they just stuck the seat into the package. This last purchase busted my $1000 ceiling by $50, but having no back pain on the long trip will be priceless!!!!
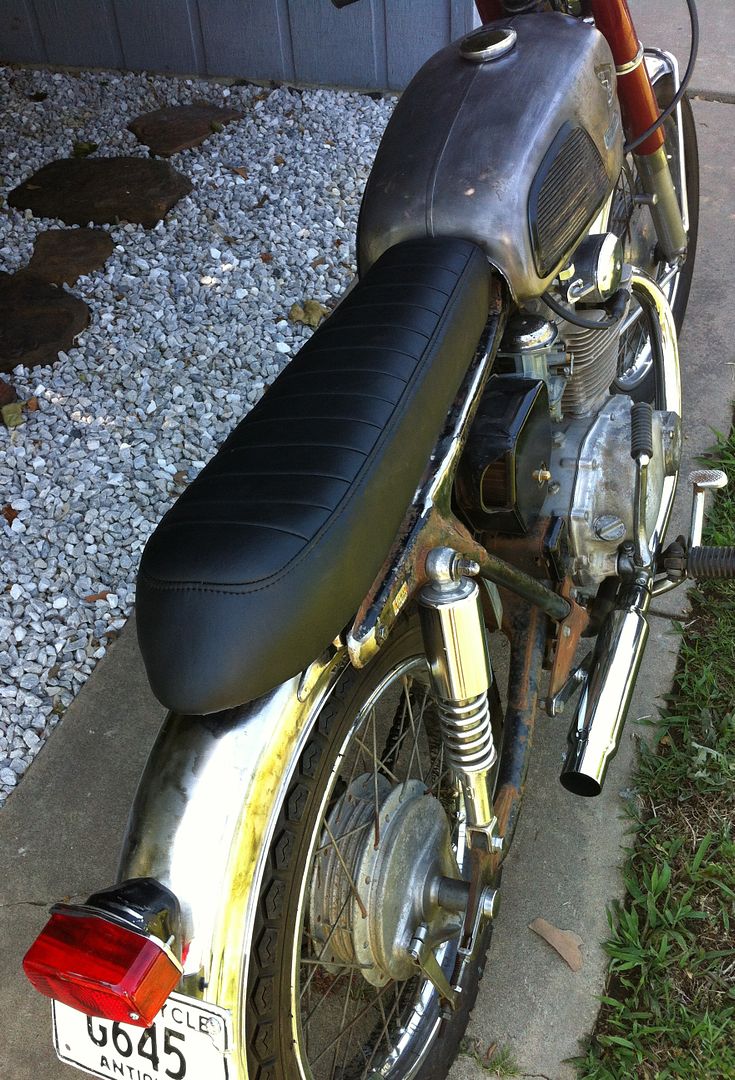
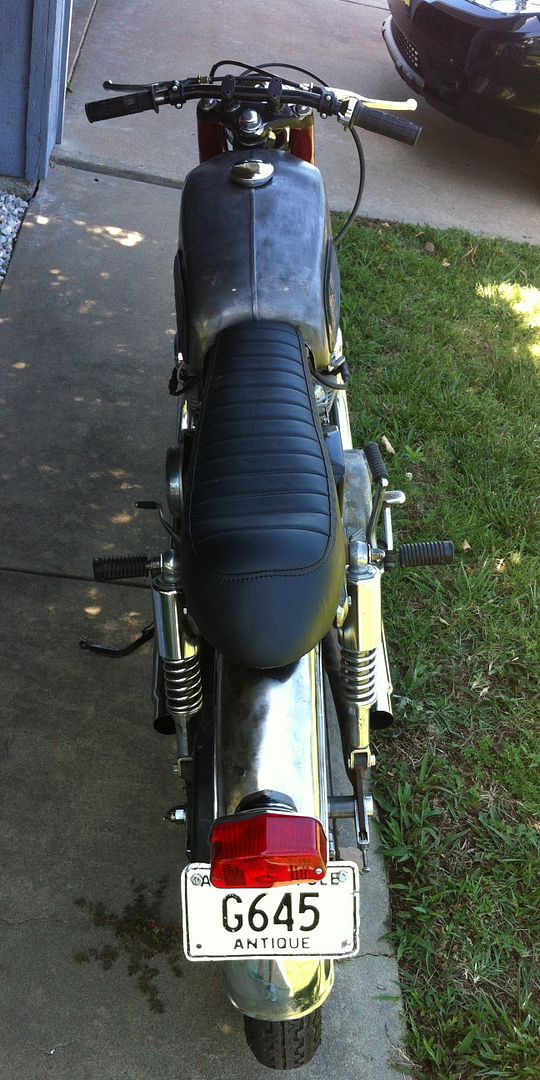
After cleaning the vinyl with acetone and rubbing off the primer on the delicate logos with silicone grease (works great), I patched the splits with a vinyl repair kit, sewed up a few seams and here it is:
Michael
Nashville/TN
The king and queen seat looks awesome, and the sissy bar is really great to bungee your stuff to, but the seat is totally uncomfortable. My back went on strike, and so I started looking for a new, old seat without breaking the bank.
The 6 inch over forks match the seat perfectly, but twist like soft pasta when I just look at the brake lever, and god only knows how much bending they will still take after 36 years, before fatigue sets in terminally. They had to go!!!
New tubes were not in the budget. Fortunately I cleaned out a workbench last week and found a set of used standard fork tubes from a previous restoration. They have some rust where the head light brackets used to sit, but the seal area was OK. Out came the cherry picker, and 45 minutes later the bike was slammed to the ground with OEM stance. Nice!
The seat problem was solved on the other side of the big pond, where I found a vintage Giuliari seat on ebay Germany. It had terrible overspray and some busted seams and splits, but it was complete and no one bid on it. For 100 bucks (including shipping to relatives in Germany) it was mine!!! My parent were shipping a box to me anyway, so they just stuck the seat into the package. This last purchase busted my $1000 ceiling by $50, but having no back pain on the long trip will be priceless!!!!
After cleaning the vinyl with acetone and rubbing off the primer on the delicate logos with silicone grease (works great), I patched the splits with a vinyl repair kit, sewed up a few seams and here it is:
Michael
Nashville/TN
5.25.2012
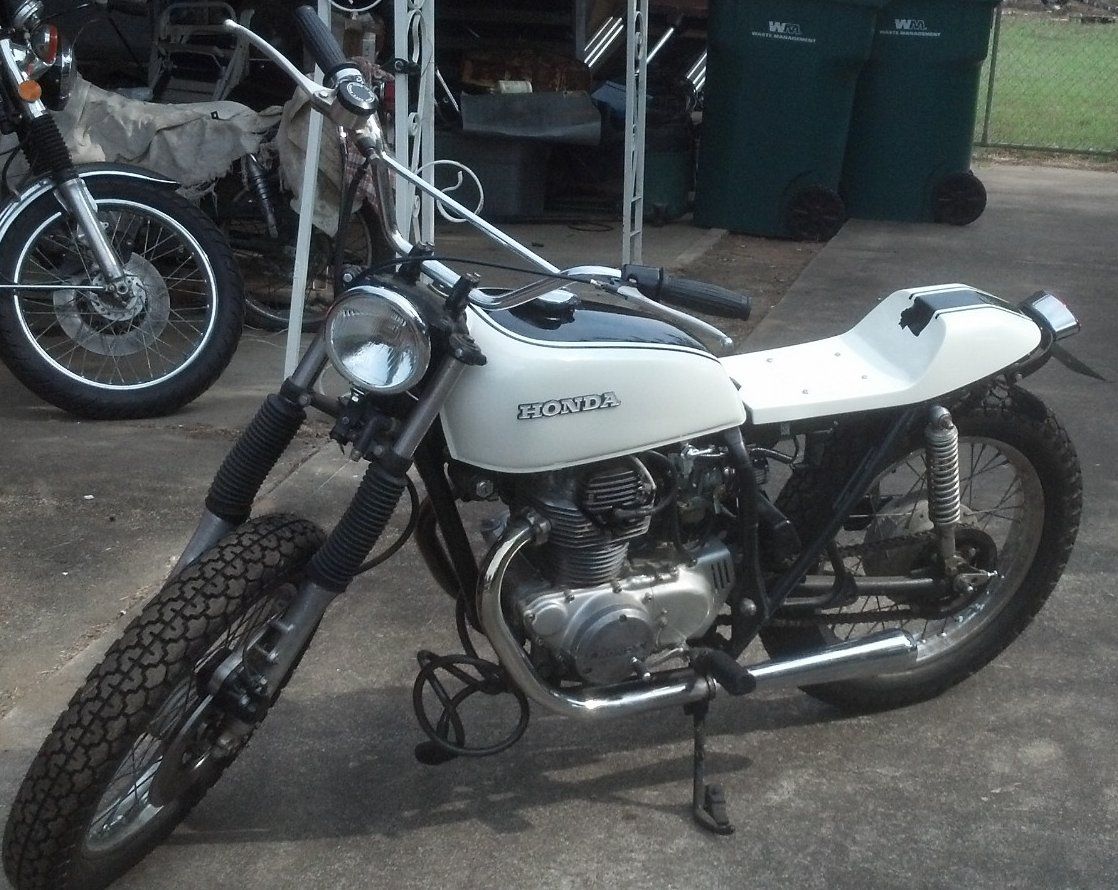
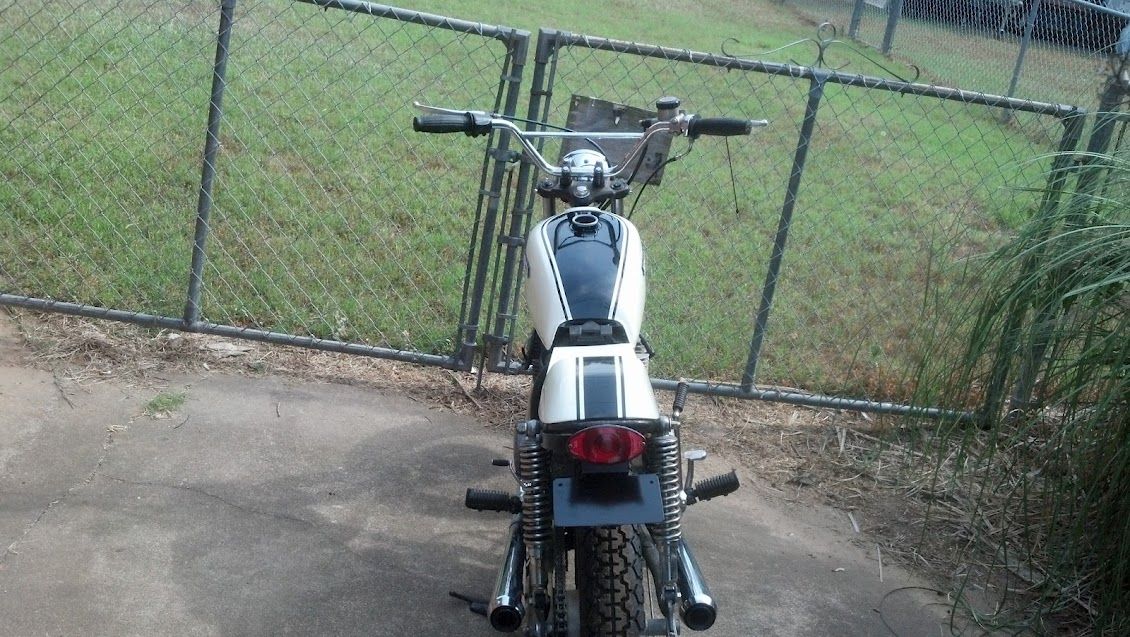
cb500 build/entry: part 1
Derrick, a friend just sent a link to the Scramble web site, and it looks like too much fun to pass on. I have a small bike shop in Russellville, (not really a shop at all but I do a lot of work out of it). I am sending a couple pics of my cb500 Honda that I would like to ride in the Scramble. It looks like I may have more than 1k in it, but I build everything on these myself and come in around $900 on this.
Mark Holloway

Mark Holloway
5.24.2012
OMS 2012 DETAILS
Hopefully everyone out there is in the final stages to get their bargain bashers ready for the Scramble, cause it's in full swing as of June 6th. We will meet at 2511 N 2nd Street Rogers, AR 72756 at 9 am SHARP to get acquainted and go over the day's ride. Plans are to hit the road by 9:45 and start our journey into the Ozarks.
There have been some recent adjustments to the daily maps as well as the main hi-res map, so all links have been updated and now show the slight route changes. To aid in directions, I have created some route sheets that will be provided on day one along with a copy of the hi-res map.You can see the route sheets here and here.
There are quite a few gas station options from day to day, however there are a handful that only accept cash without any ATMs near. Be prepared.
If you have any questions or concerns shoot an email to hatchethairy@yahoo.com
Day One
View Larger Map
Day Two
View Larger Map
Day Three
View Larger Map
5.22.2012
xs650 build/entry: part 3
Well we did the whole DMV dance last week and made Purple Rain legal for the road. The last time this bike had any road duty was 1986. I wanted to do a few hundred miles on it to make sure it will stay running and together on the Ozark Mountain Scramble. I did 250 miles over the weekend on country roads with many different elevations and terrain. The sample roads ranged from small village 30 mph streets to 5 mile long uphill pulls and hills with 70 mile per hour down hill sweepers.
What we found out is the engineers that designed and built this motor knew how to build the reliability in. Once I worked out the fuel issues with leaking petcocks and dry rotted fuel lines we were able to keep the motor running on 2 cylinders. Knock on wood the electrical is all stock and has never been played around with. Everything electrical works with the exception of the horn and the back light for the tachometer.
We need to address a few item that are not show stoppers but in the name of safety should be repaired. The list is as follows:
1) Replace the rear swing arm bushings. When you apply the rear brake it shifts the swingarm and changes the direction you are traveling.
2) Replace the fork seals as they are weeping and spraying down the front of the bike with oil.
3) Replace the front brake pads as they were oil soaked at one time and it takes a country mile to stop. I have ridden drum brake bikes with more front brake stopping power than this bike.
4) Replace the high-low beam switch on the handlebars I looked down one moment it was there then the next moment is was gone.
5) Wash it up and get it ready for the 1100 mile truck ride From NY to Arkansas.
Tim
5.11.2012
xl500 build/entry: part 5
I finally decided on a real plan for the upper shock mount. The frame is a '79 and was originally a dual rear shock bike. I wanted the mono shock look so it took some doing. It's not done yet but it's better.

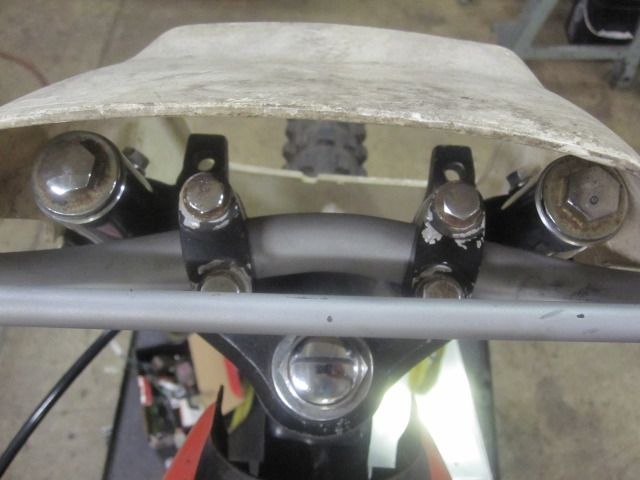
I slid the cb360 fork tubes up 1 1/2" and then shortened the stem almost another 1 1/2. Eventually I will cut the tubes and re-thread them but for now to keep cost low and get them done I left them sticking up through the upper clamp. This resulted in regular moto bars running right into the tubes. I made my own bars with a bend in the center and just twisted the clamps out a bit so the bars cleared the tubes.
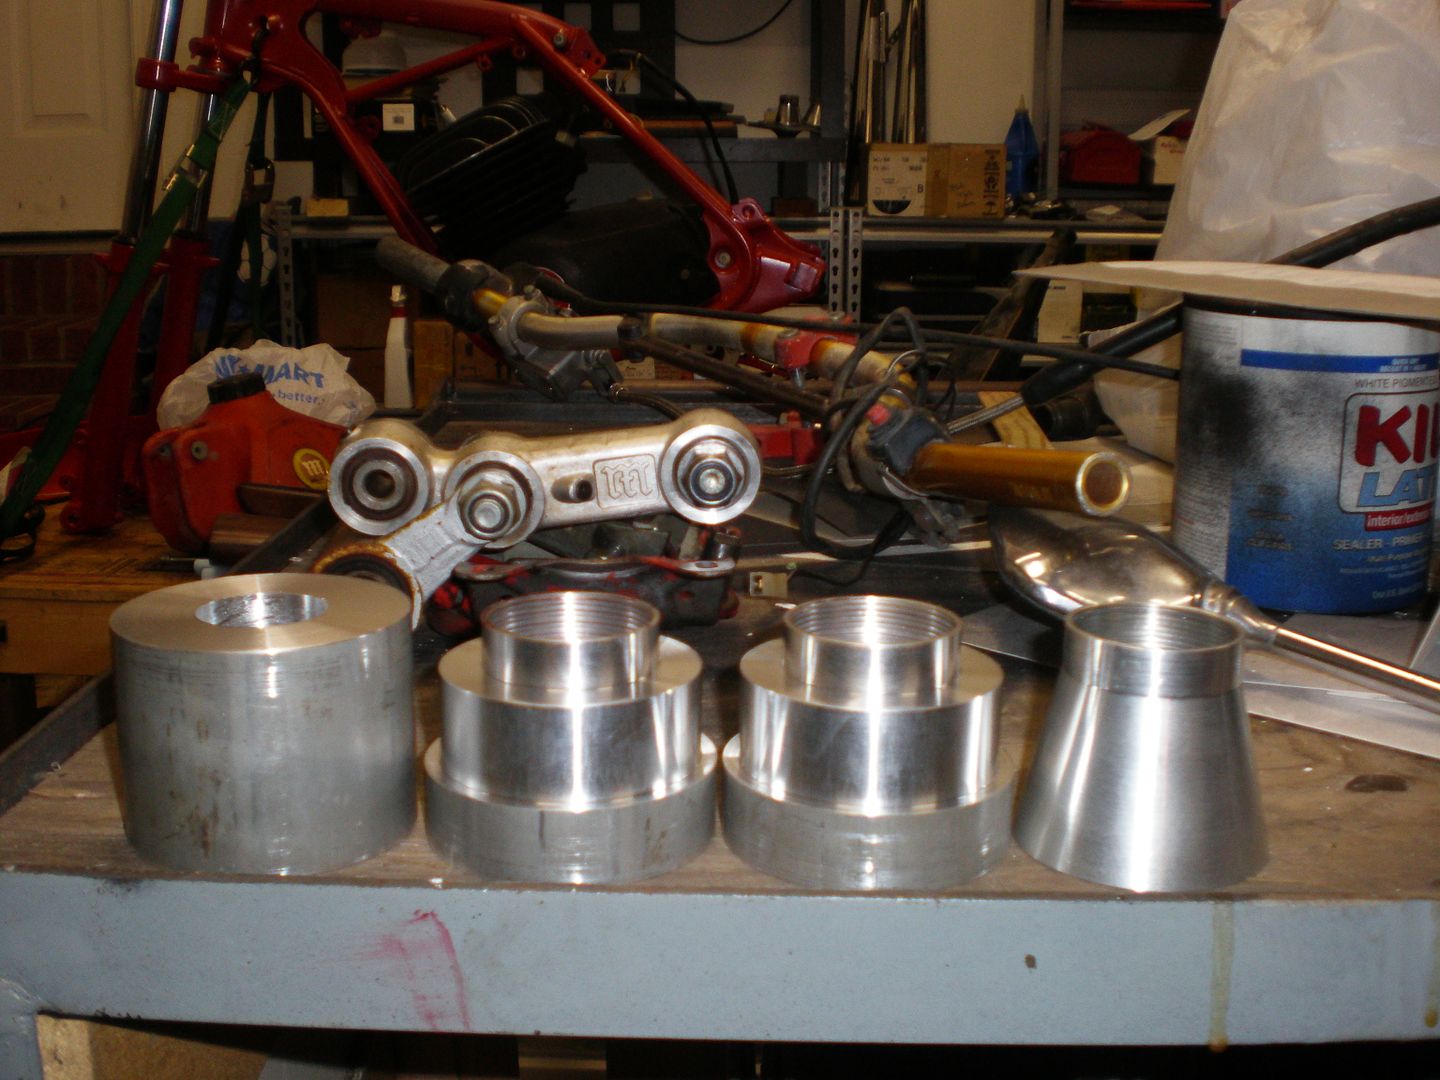
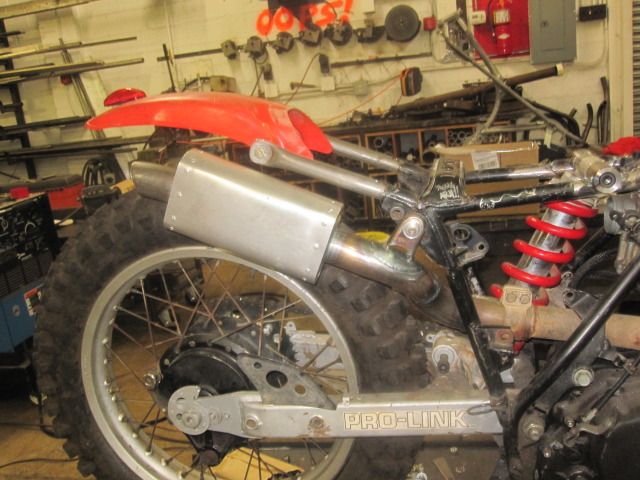
I wanted the moto look for the exhaust but mufflers are pricey! I thought I'd score a mx canister for peanuts on ebay but no dice. Well seeing I don't like mufflers anyway I just made something that looked like a muffler. I am using a stock header and then it goes back to open 1 3/4" pipe. The canister ends I made from 12 and 16 gauge steel and wrapped them in annealed .025" aluminum held down with pop rivets.
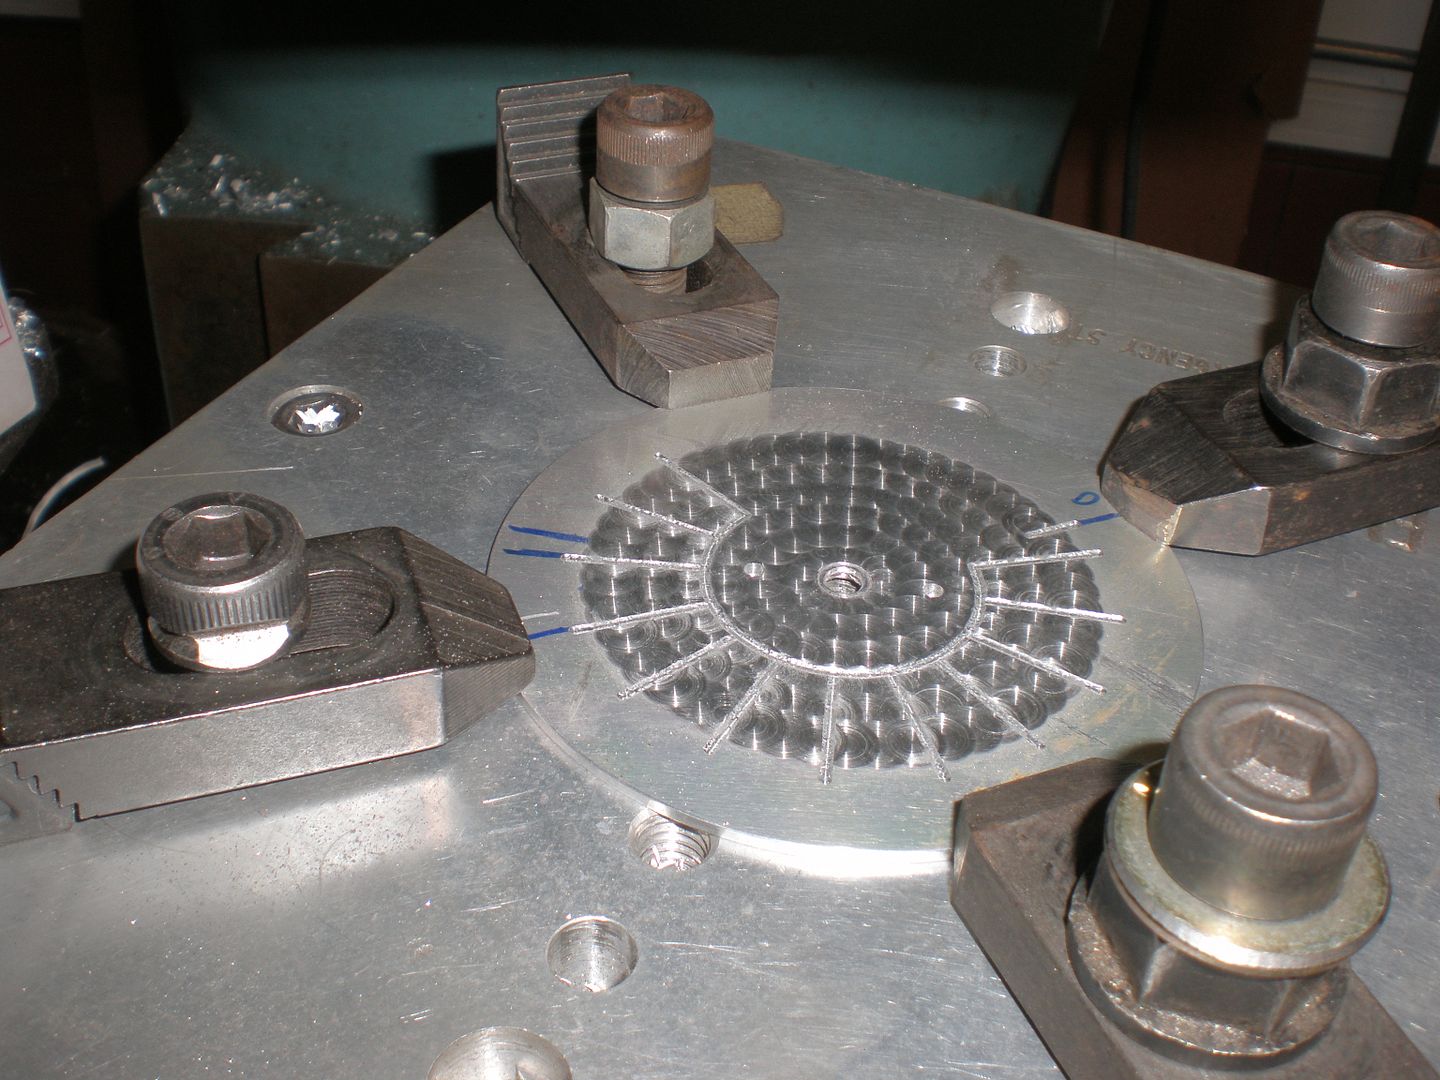
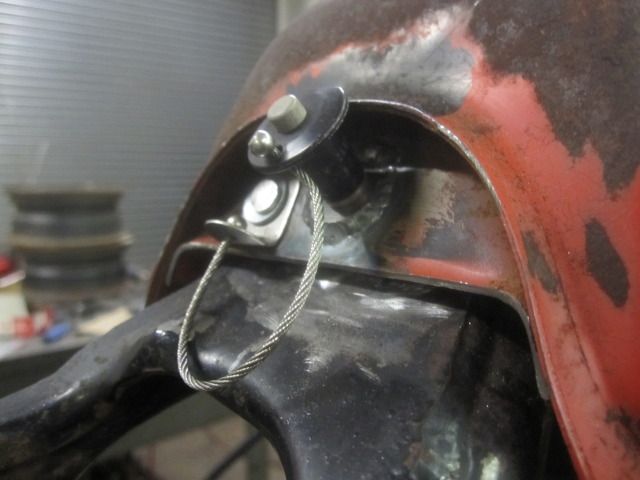
The xr75 gas tank is maybe a gallon. The engine gets a solid 60+ MPG so I am hoping to be able to make it between fuel stops but inevitably I will run out. I hate carrying stuff so I wanted the tank easily removable so I can siphon fuel fast and easy right into the tank without the need for a fuel bottle. I am using a Motion Pro fuel line quick disconnect for the line. The tank mount uses a spring loaded quick release locking pin tethered to the tank. The seat and rear fender will use the pins as well so I can have the tank off in 30 seconds or so. This will also allow me access to the carb and coil and wiring fast and easy if need be.
I was concerned at first with the holding power of the pin but it is solid. Some careful lathe work keeps the receiver bungs snug too.
Mike47
I slid the cb360 fork tubes up 1 1/2" and then shortened the stem almost another 1 1/2. Eventually I will cut the tubes and re-thread them but for now to keep cost low and get them done I left them sticking up through the upper clamp. This resulted in regular moto bars running right into the tubes. I made my own bars with a bend in the center and just twisted the clamps out a bit so the bars cleared the tubes.
I wanted the moto look for the exhaust but mufflers are pricey! I thought I'd score a mx canister for peanuts on ebay but no dice. Well seeing I don't like mufflers anyway I just made something that looked like a muffler. I am using a stock header and then it goes back to open 1 3/4" pipe. The canister ends I made from 12 and 16 gauge steel and wrapped them in annealed .025" aluminum held down with pop rivets.
The xr75 gas tank is maybe a gallon. The engine gets a solid 60+ MPG so I am hoping to be able to make it between fuel stops but inevitably I will run out. I hate carrying stuff so I wanted the tank easily removable so I can siphon fuel fast and easy right into the tank without the need for a fuel bottle. I am using a Motion Pro fuel line quick disconnect for the line. The tank mount uses a spring loaded quick release locking pin tethered to the tank. The seat and rear fender will use the pins as well so I can have the tank off in 30 seconds or so. This will also allow me access to the carb and coil and wiring fast and easy if need be.
I was concerned at first with the holding power of the pin but it is solid. Some careful lathe work keeps the receiver bungs snug too.
Mike47
Subscribe to:
Posts (Atom)